New Advance Back End Features Manual
- 1. Setting of default views
- 2. Applying additional filters
- 3. Additional search and sorting filters
- 4. Additional edit products
- 5. Product copying function
- 6. Cargo product attribute
- 7. Import of products
- 8. Export of products
- 9. Registered user activation
- 10. Filter of users
- 11. Over view of customers
- 12. Price list generation
1. Setting of default views
Setting of default views, advance/normal views to categories from the Categories management.
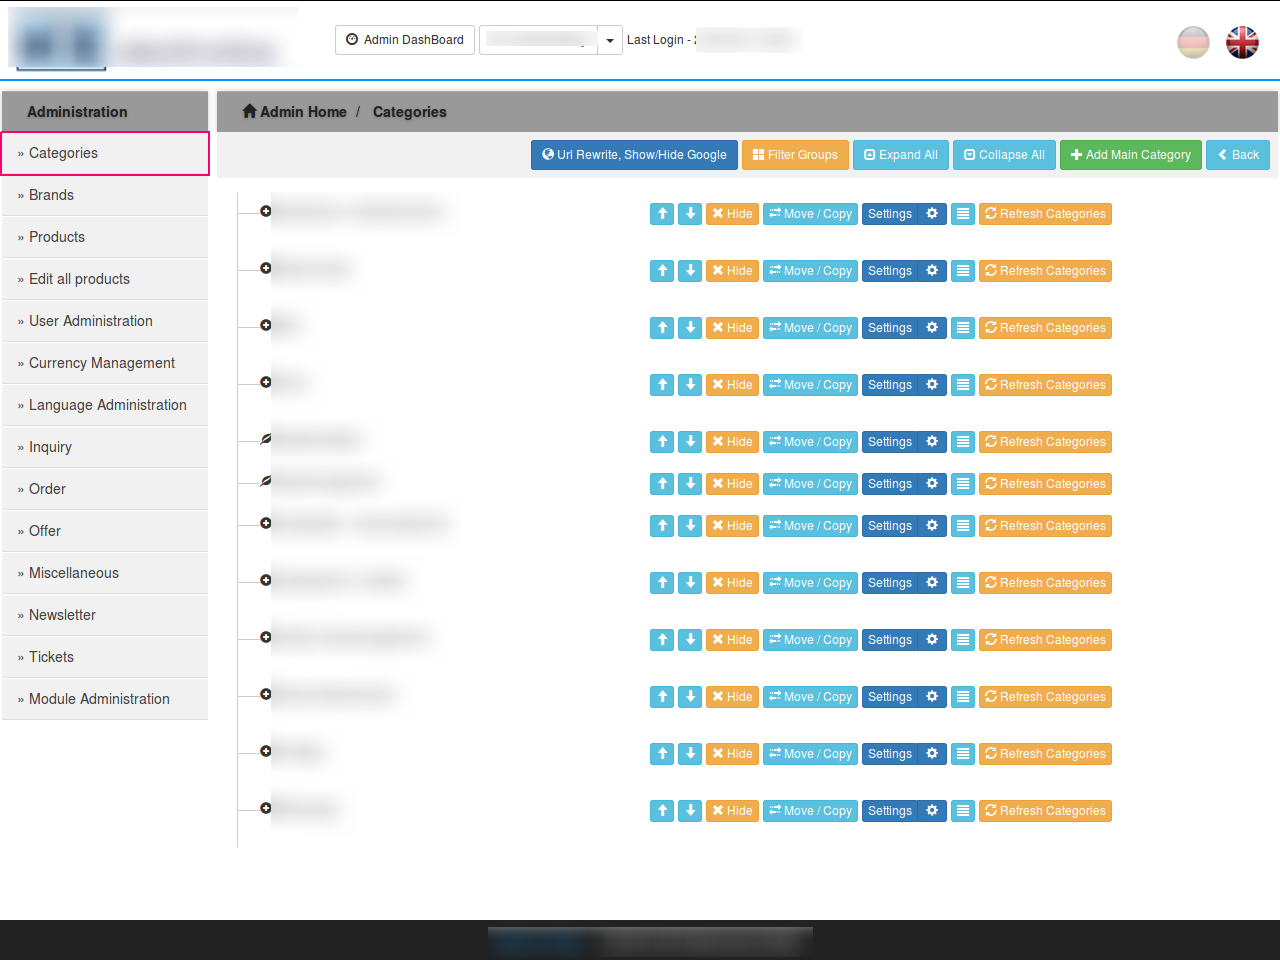
Admin can able to set or change the default view of the products in the categories, In the Category Management. What ever the view he specifies will be reflect in the product list where the regular user sees. To change the view go to Admin panel and click on Categories tab.
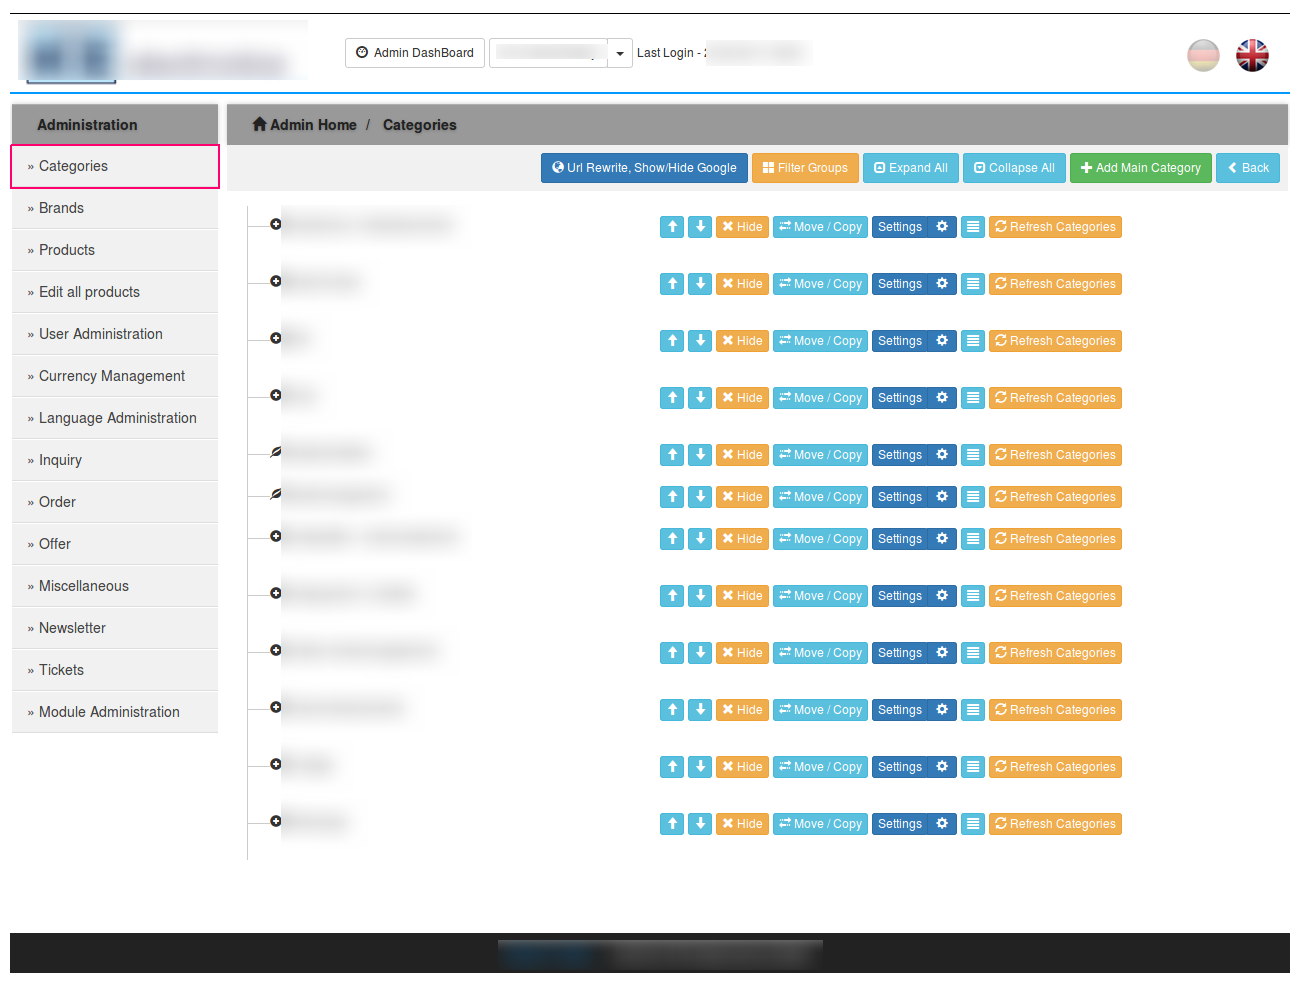
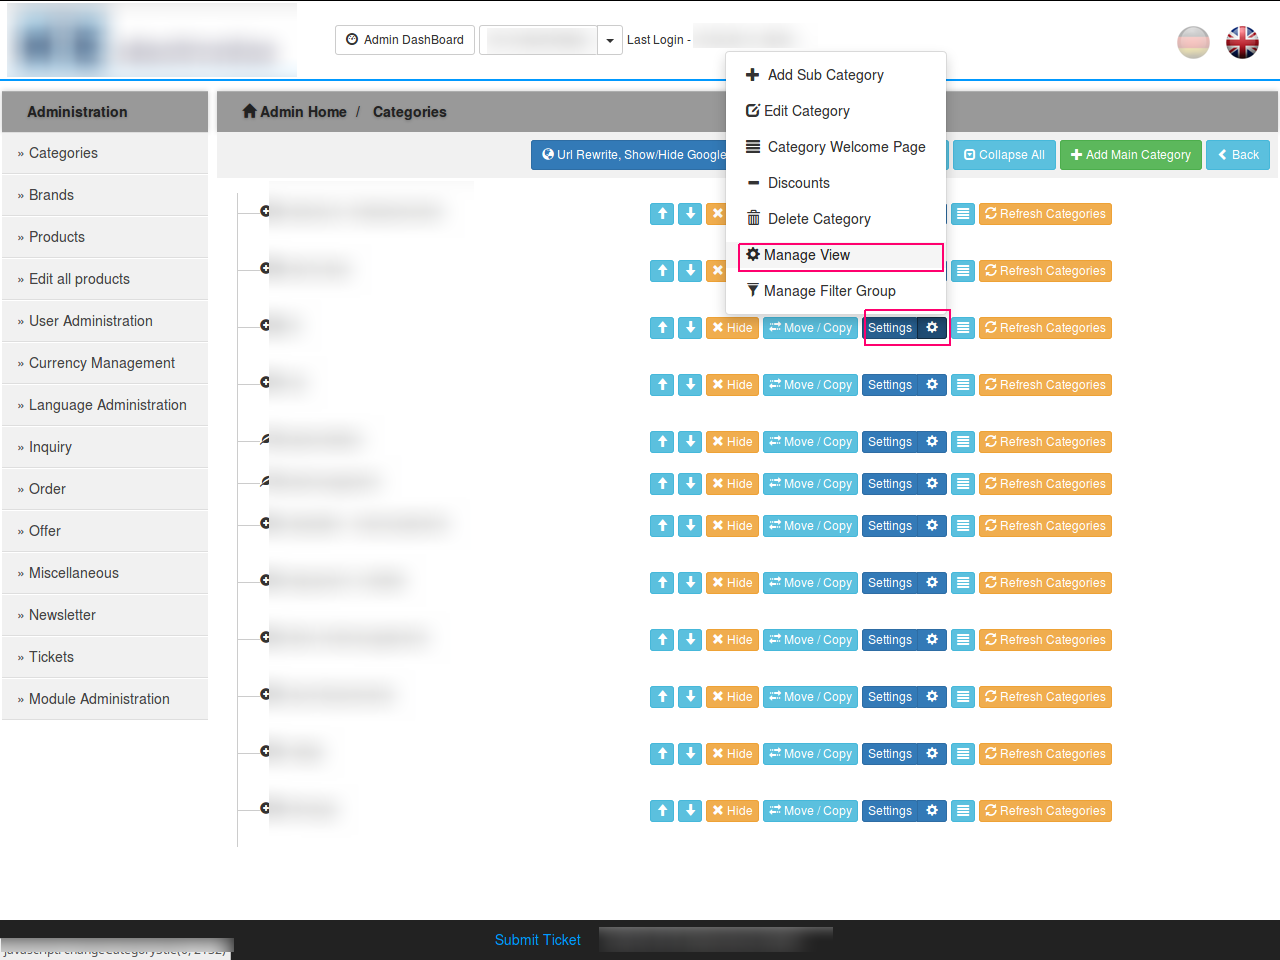
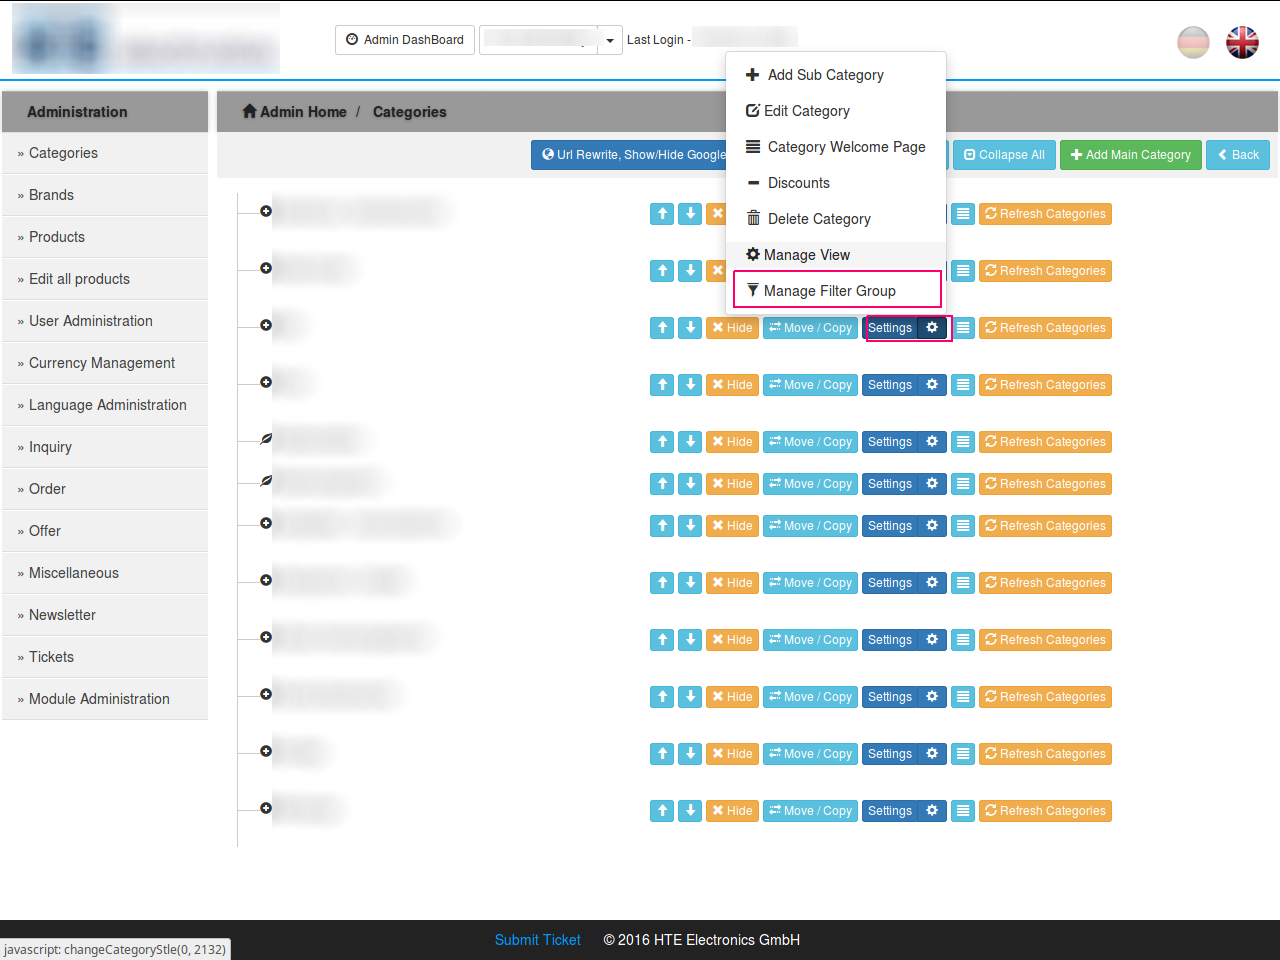
It will show the list of product categories with several options to manage them. Click on the settings button of the category for which you want to change the view and select the manage view option.
A pop up with the options to manage the view will be opened and you can select the type of view you wanted. Select the view and if you want the same view for the sub categories also you can select the option, “Apply Subcategories...” and click on Update.
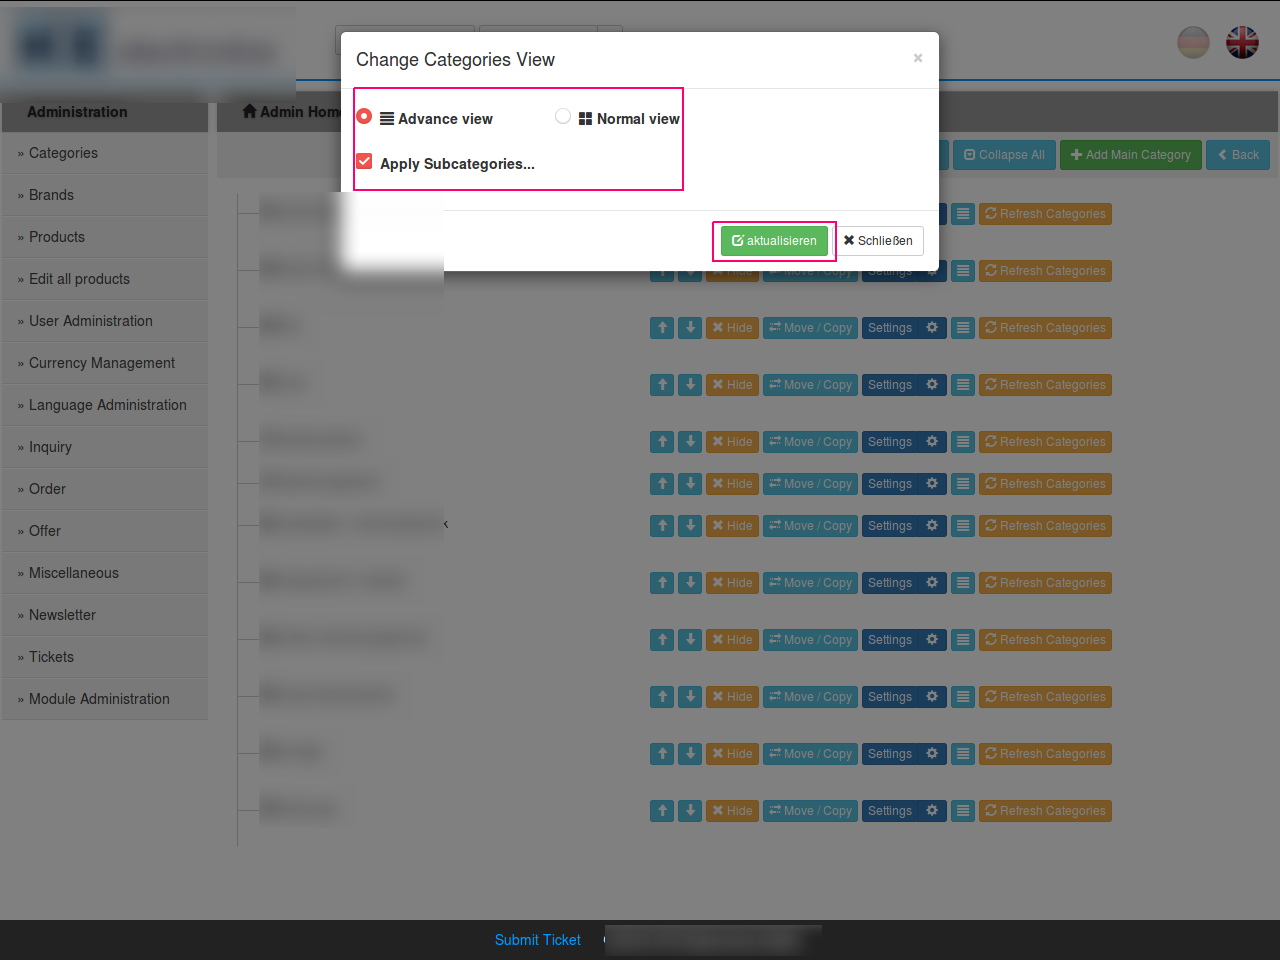
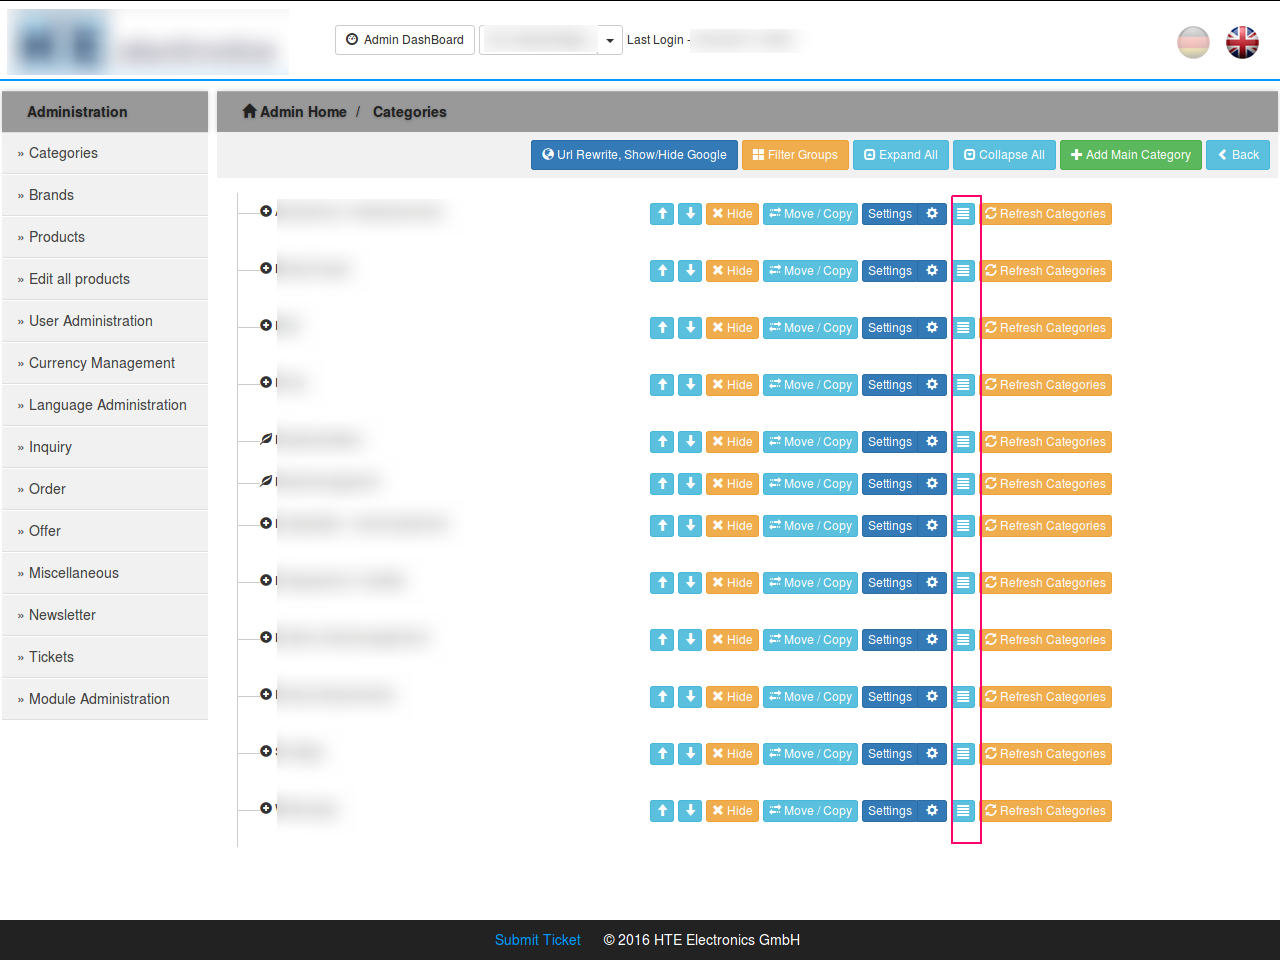
To check which view that category has, check next to the settings button and the layout of view will be showed.
2. Applying additional filters
Applying additional filters for categories for advance/table view by applying the technical details to the categories from categories management.
To apply the additional filters to any category, click on the Categories tab in the admin panel.
Click on the settings button of the category to which you wanted to add the filters, and select the option called “Manage Filter Group”.
A pop up called Assign Filter Group will be opened with the options to select the Filter Group.
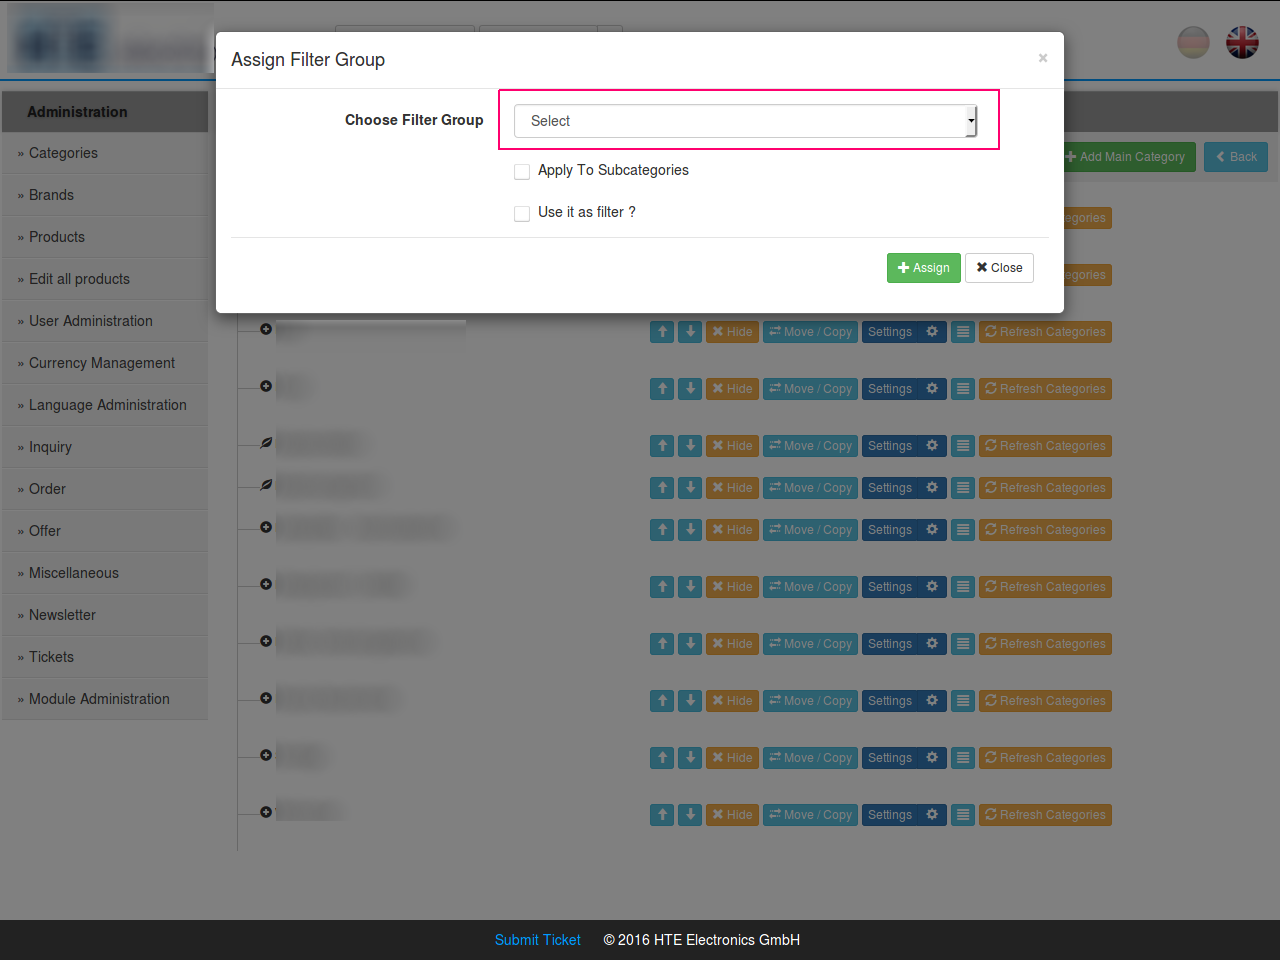
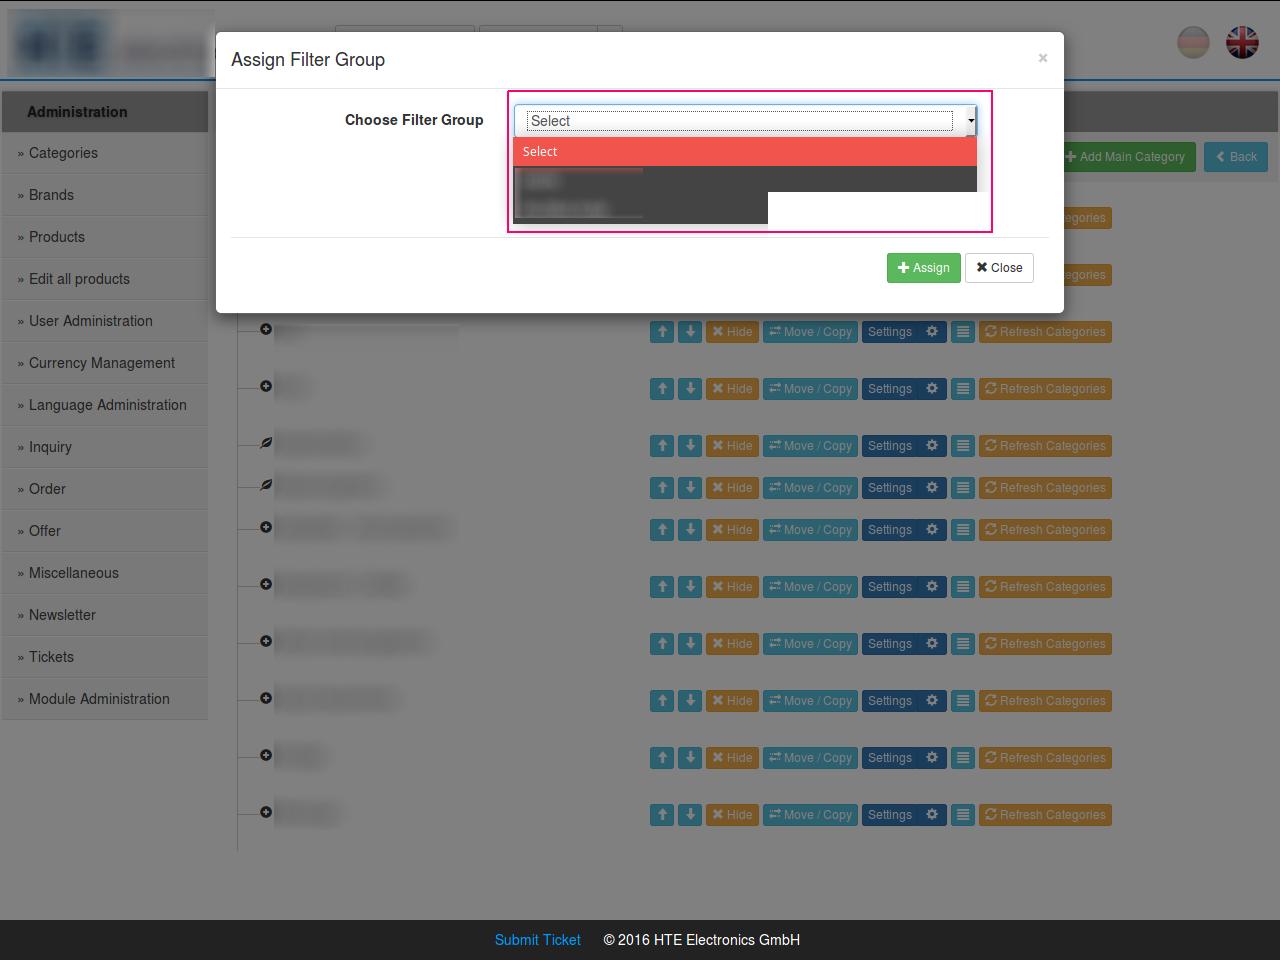
Click on the Choose Filter Group and a list of filter groups will be opened and select the required filter group from the list.
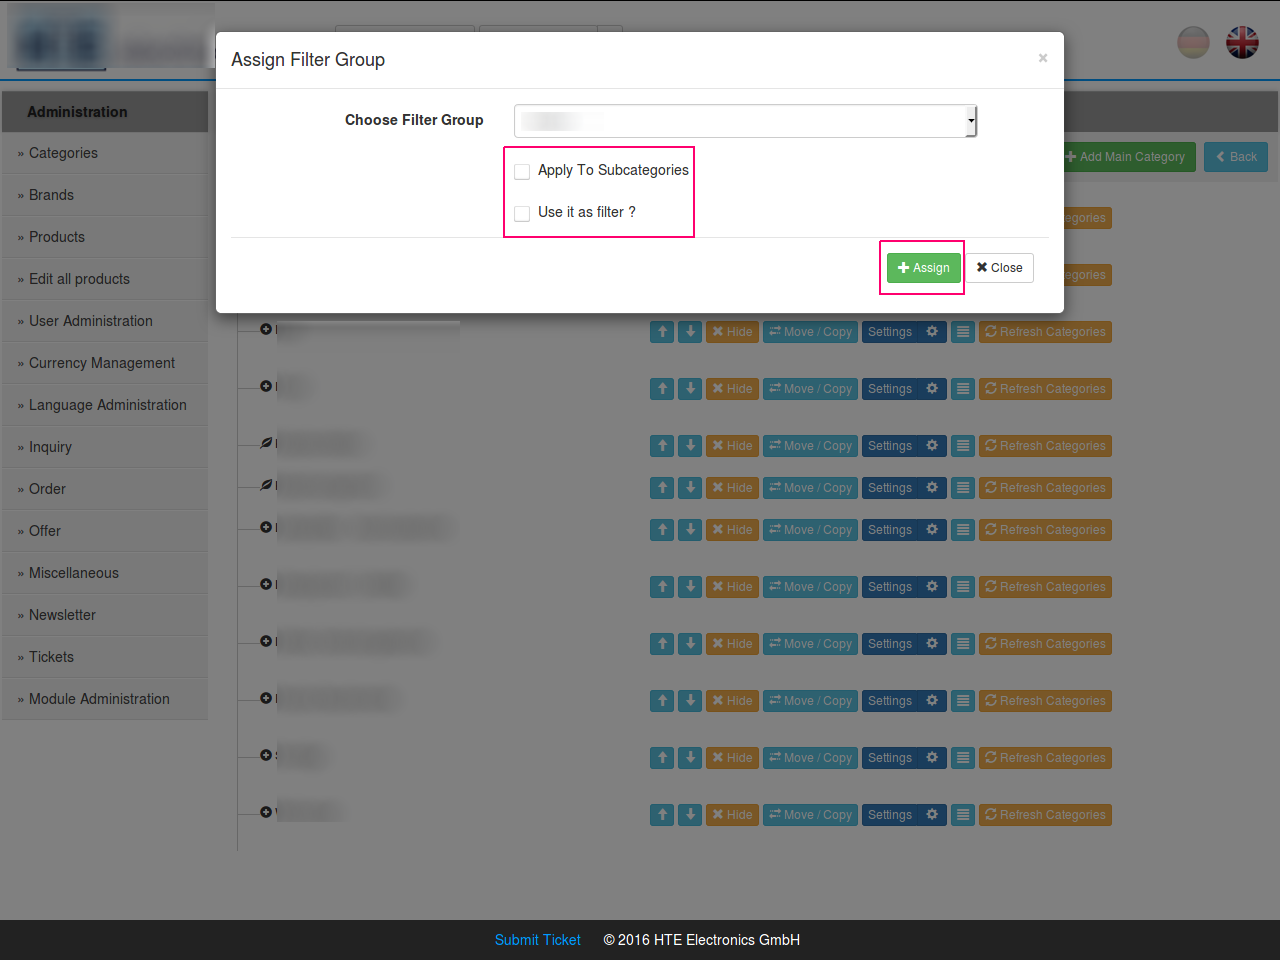
After selecting the filter group, you can apply the same filter group to the Subcategories also by selecting the Apply to Subcategories and you can decide whether to make this filter group as filter in the product list or not, by simply selecting the “Use it as Filter?”. And then click on “Assign “ to apply the changes.
3. Additional search and sorting filters
Additional search filters and sorting for products in the edit products interfaces in the shop admin end.
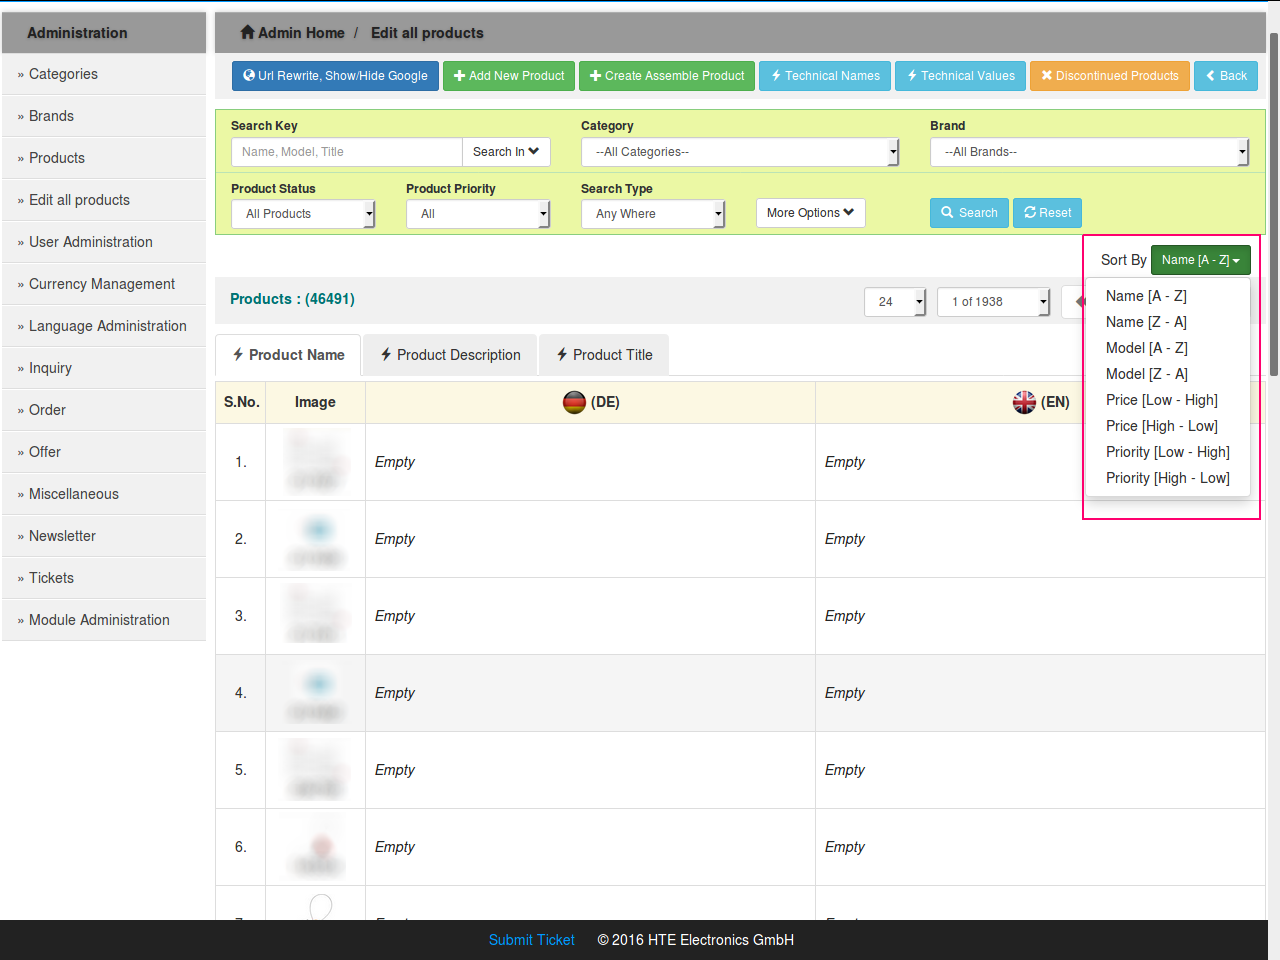
The Edit Product page is available with some more search filters in it. Click on the Edit all Products tab in the admin panel and a page with the products will be opened with the several search options. For more search options click on “More Options” button and a list of more search options will be opened.
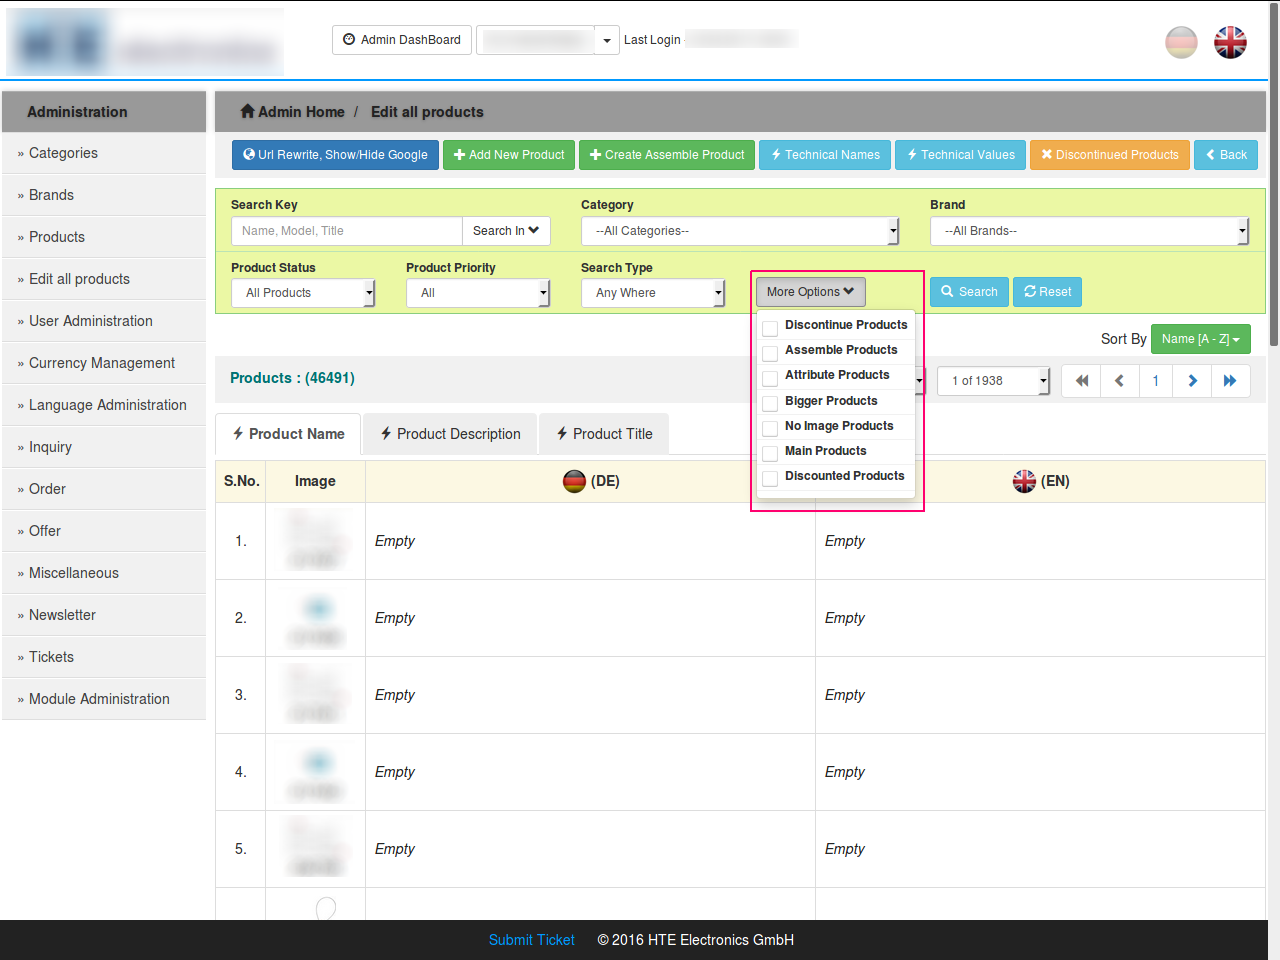
And it also have multiple sort options also. To get the sort options click on the “Sort by” option on the left side of the page and it will give several sort options.
4. Additional search and sorting filters
Additional edit products interface for editing product basic details such as name as well as description in multiple languages from the same screen as well as auto save function for name and descriptions in multiple languages.
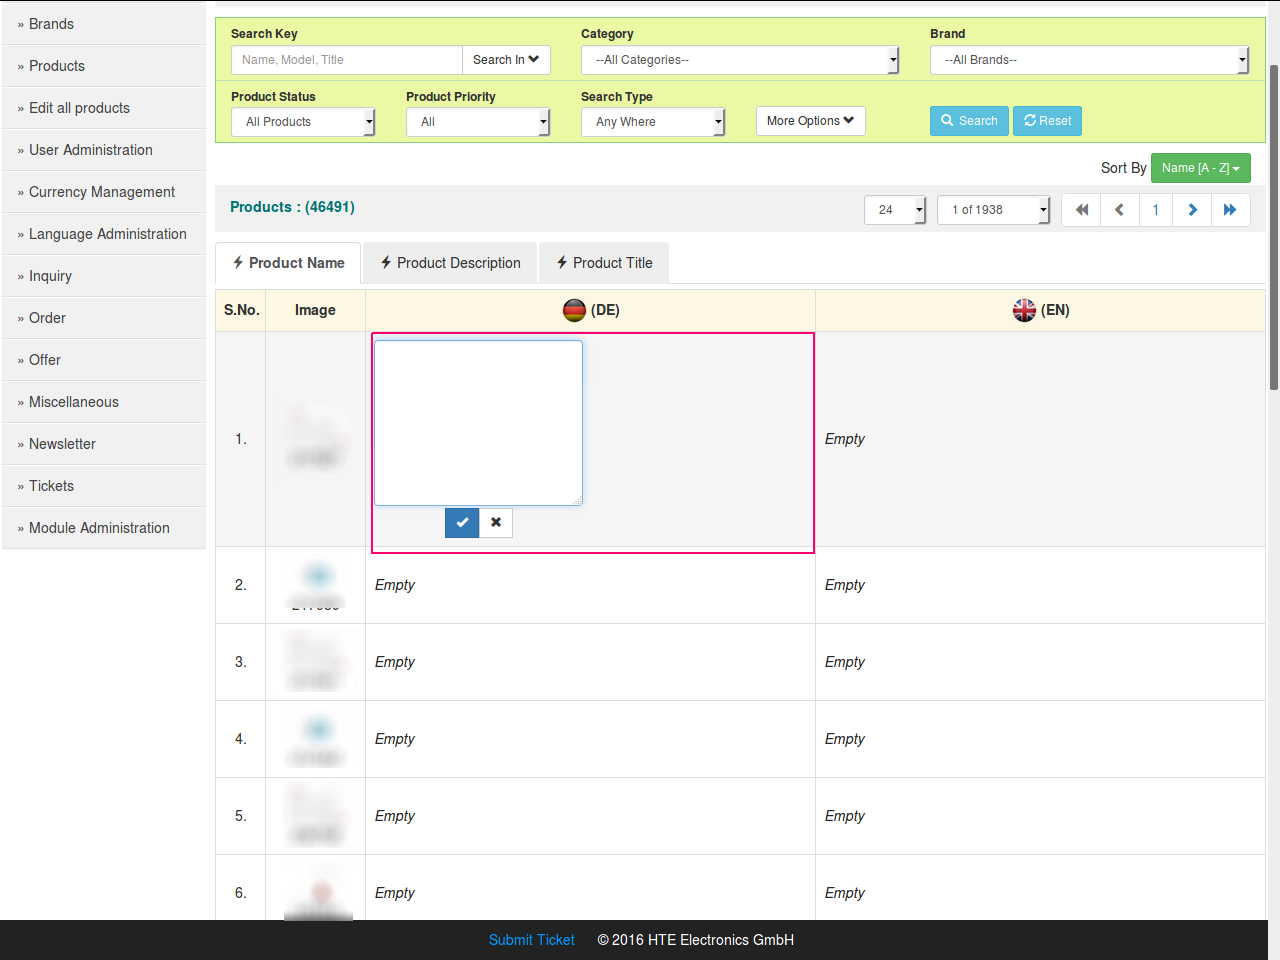
To edit the product information, go to Edit all Products and if you want to edit the product name click on Product name tab and the list of products will be opened with the names in different languages, what ever the name you wanted to change, just click on the name.
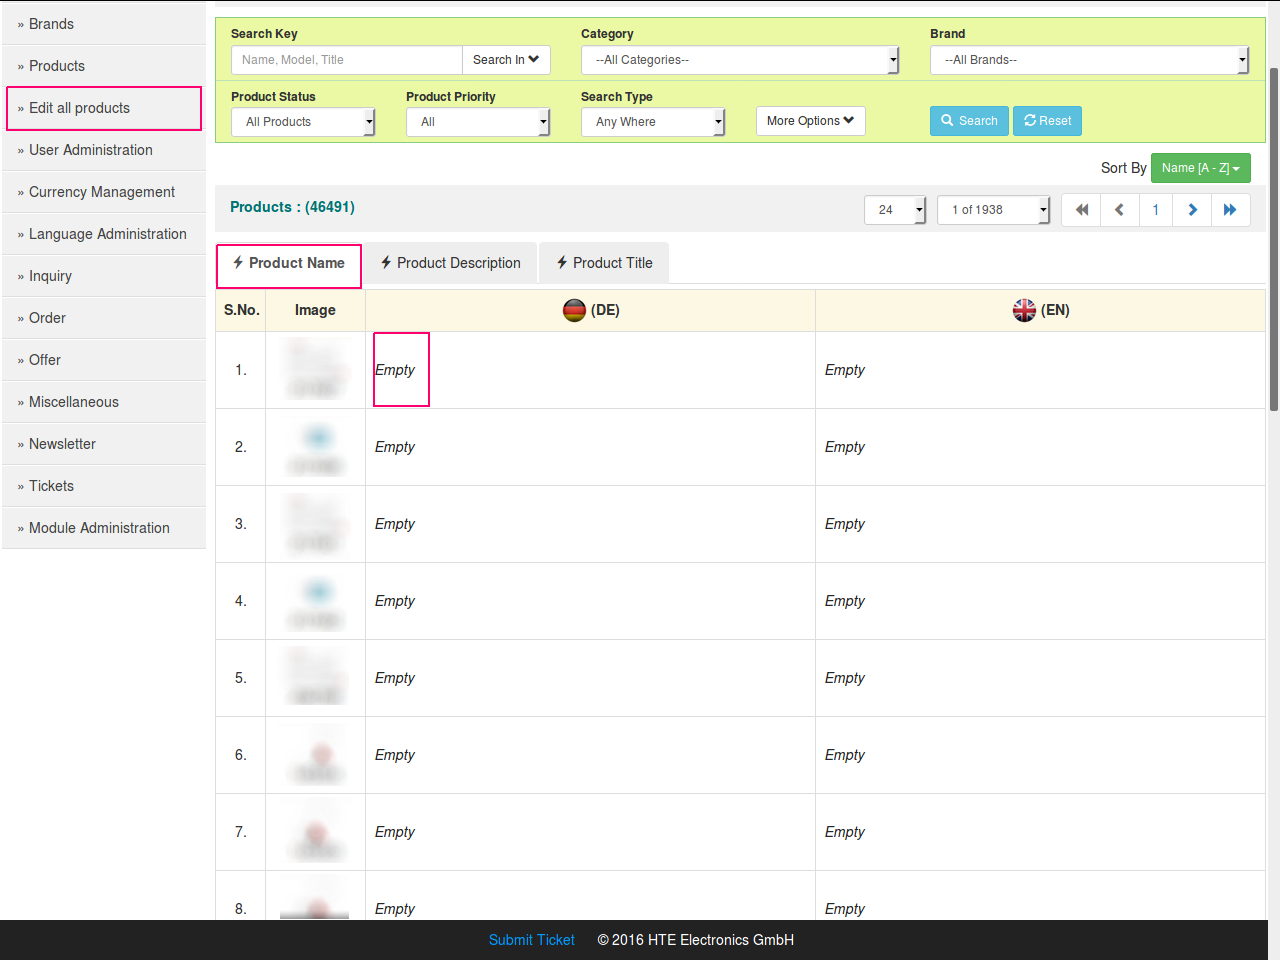
An in-line edit of the name will be opened and allows you to edit the name, just enter the desired name and click on OK button the name will be saved.
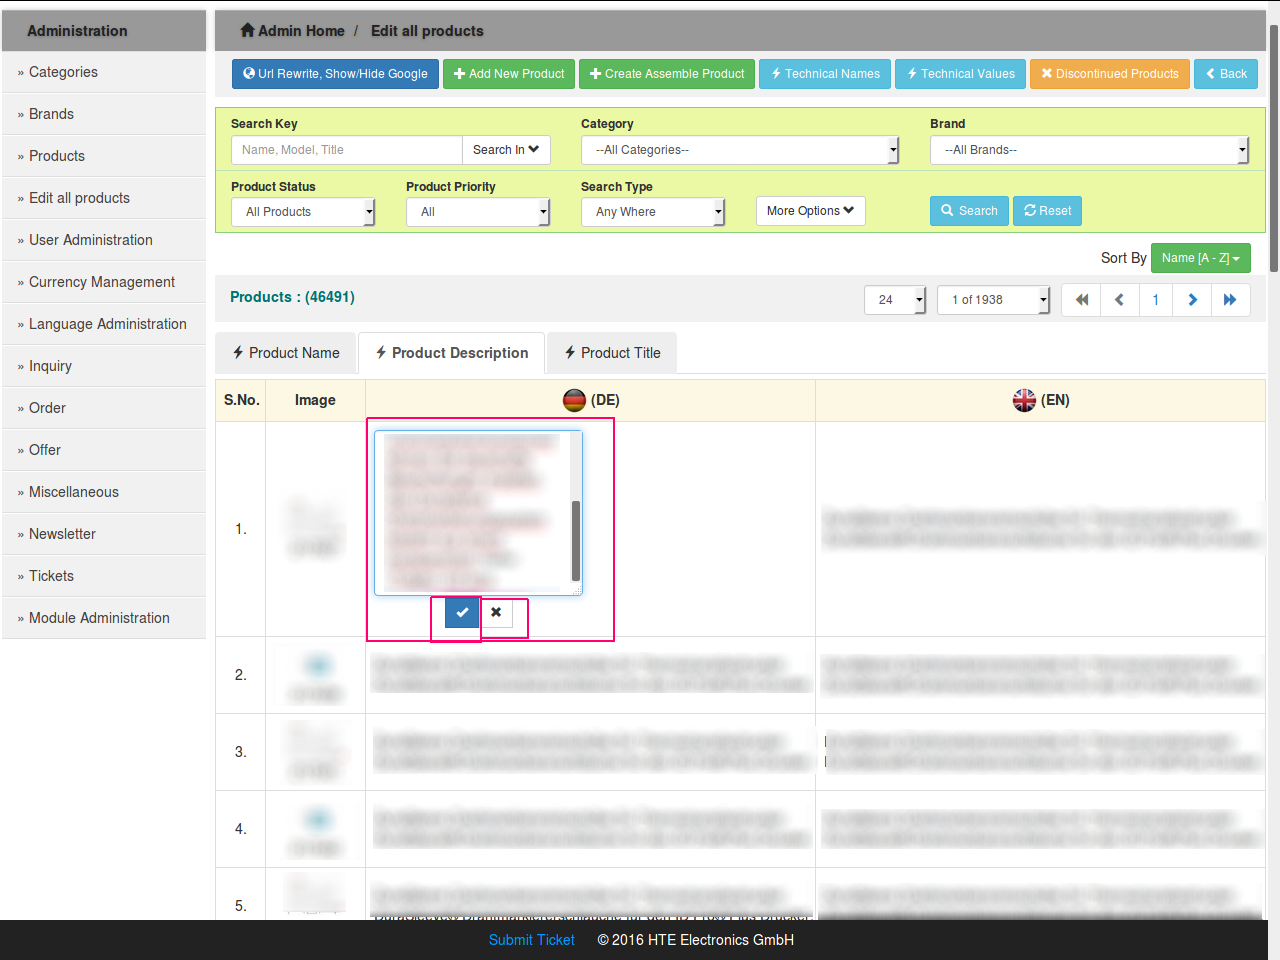
To edit the description of the products, Click on the Product Descriptions tab and the list of products with the descriptions will be opened. Click on the description which you wanted to edit.
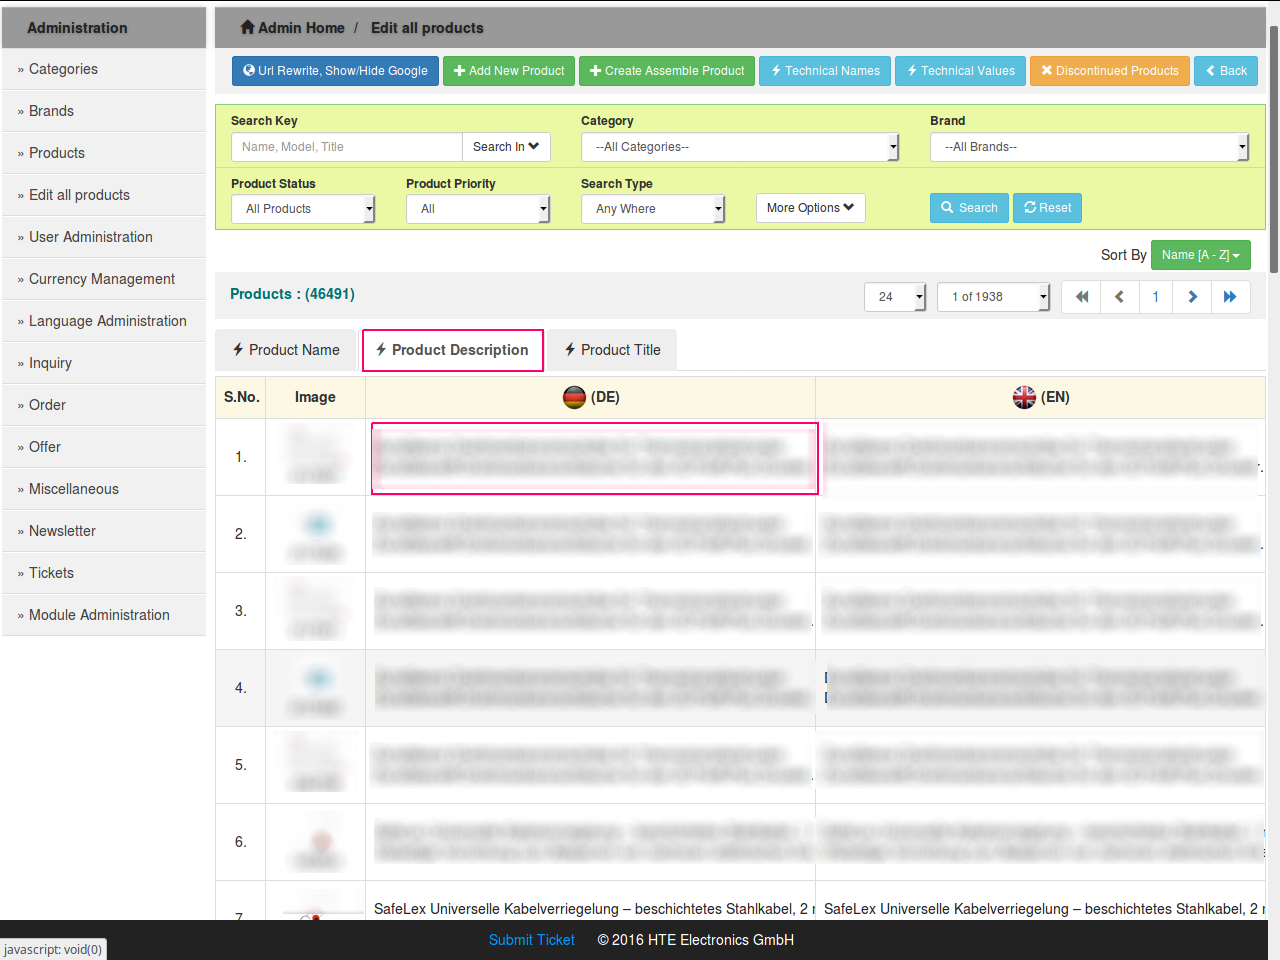
An in-line edit to edit the description will be opened. Enter the description and click on OK, to save.
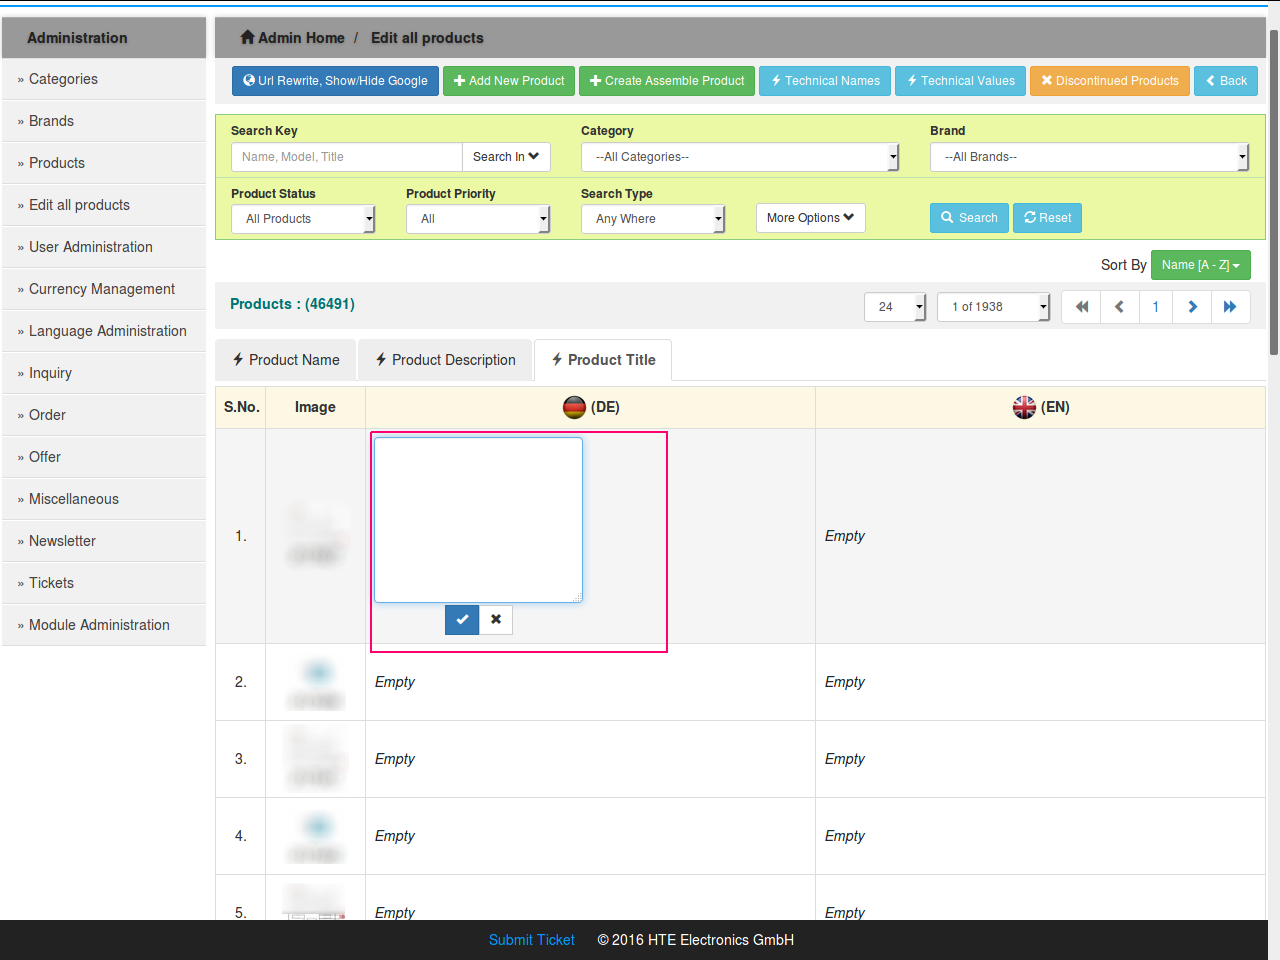
To edit the product title, click on the product title tab and click on the title which you wanted to edit.
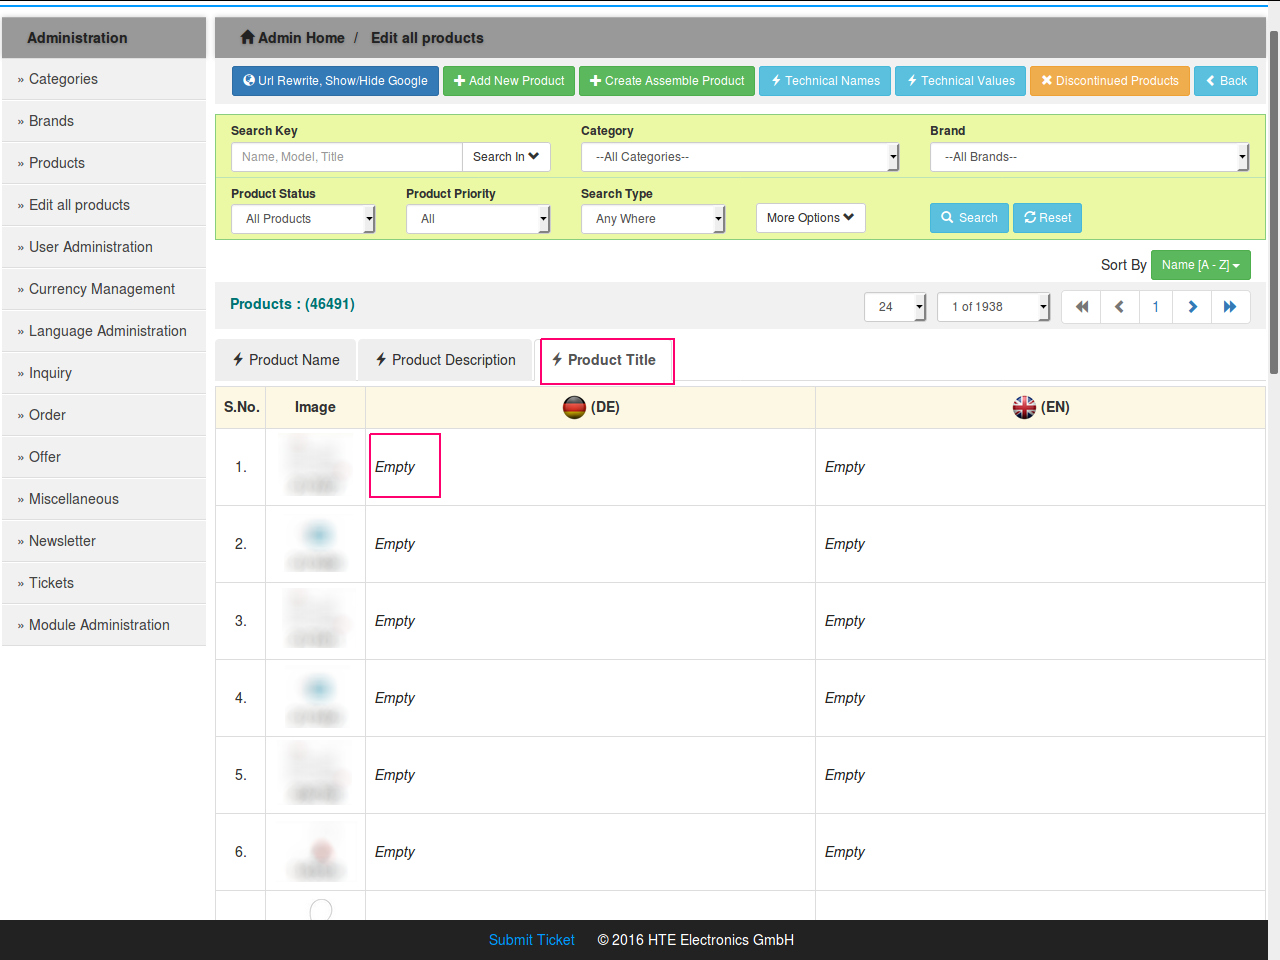
The in-line edit will be opened and allows you to enter the text.
5. Product copying function
Product copying function to easily create a new products from existing product by copying a product and editing then the copied product fields to make it a different product.
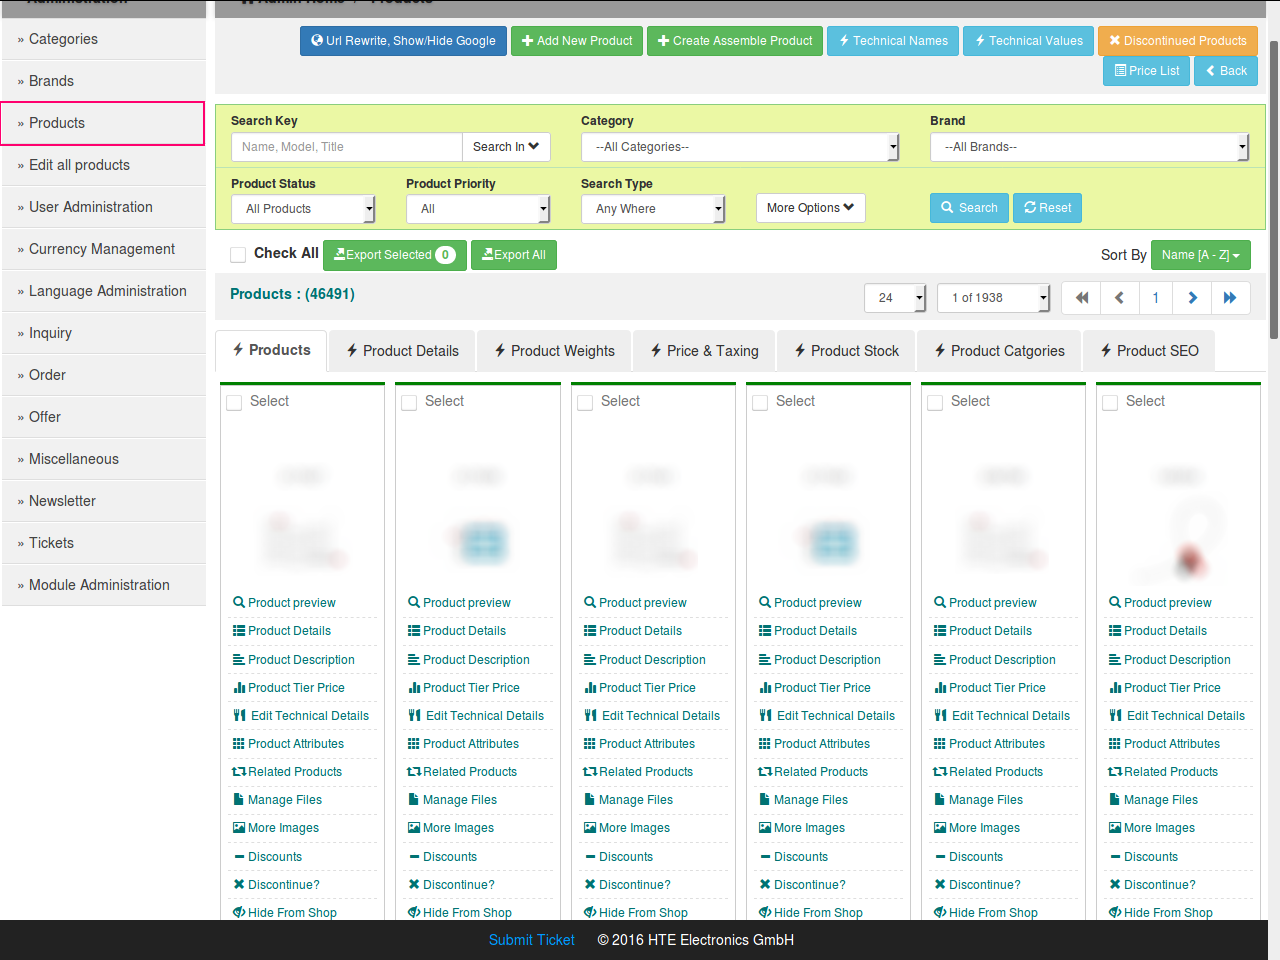
To made the new product no need to create everything, we can simply copy the existing product and can edit it and made it as a different product. To copy the product, click on the products tab in the admin panel and the list of products with several management options will be opened.
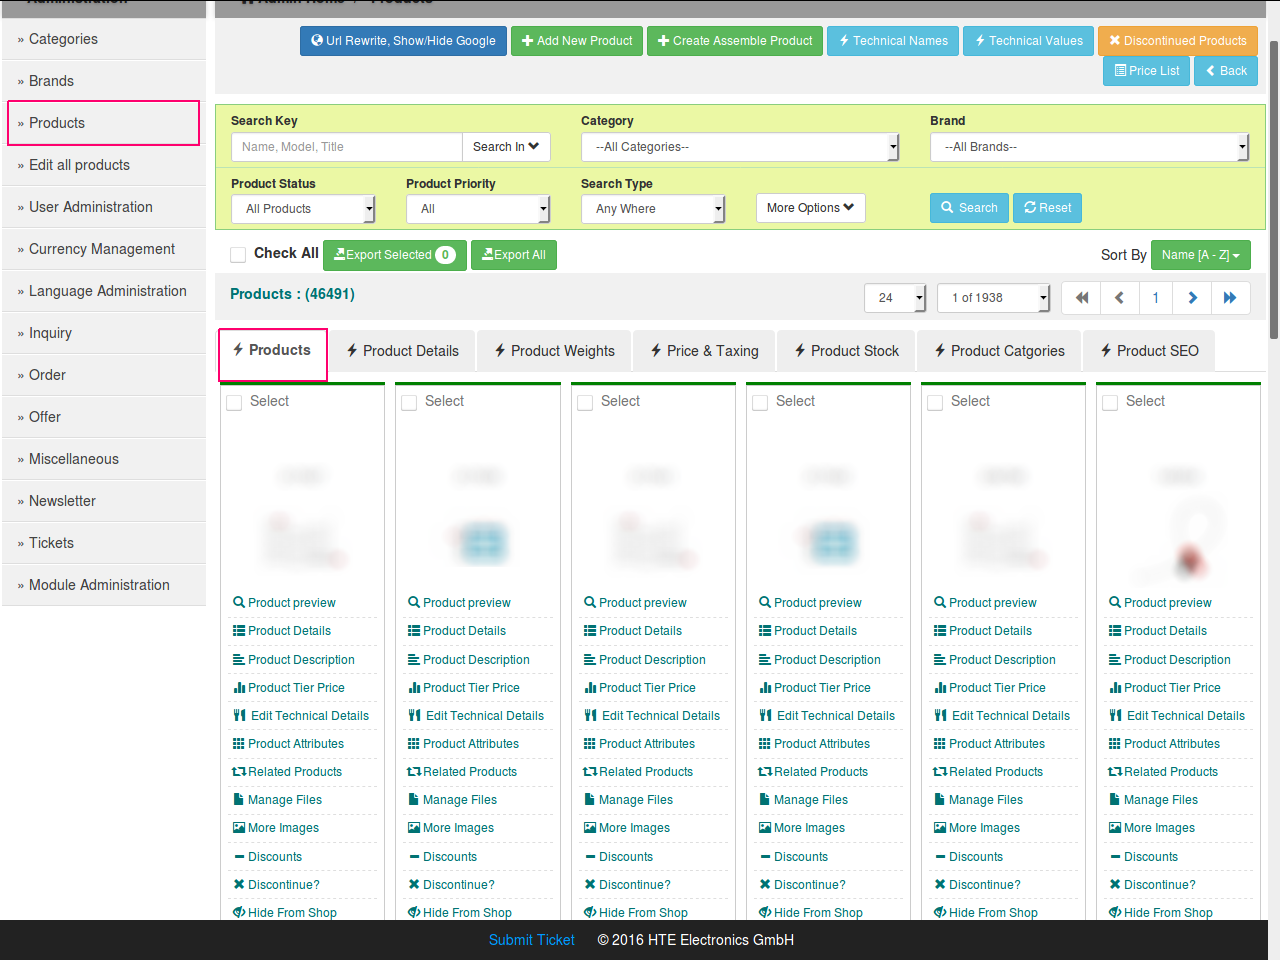
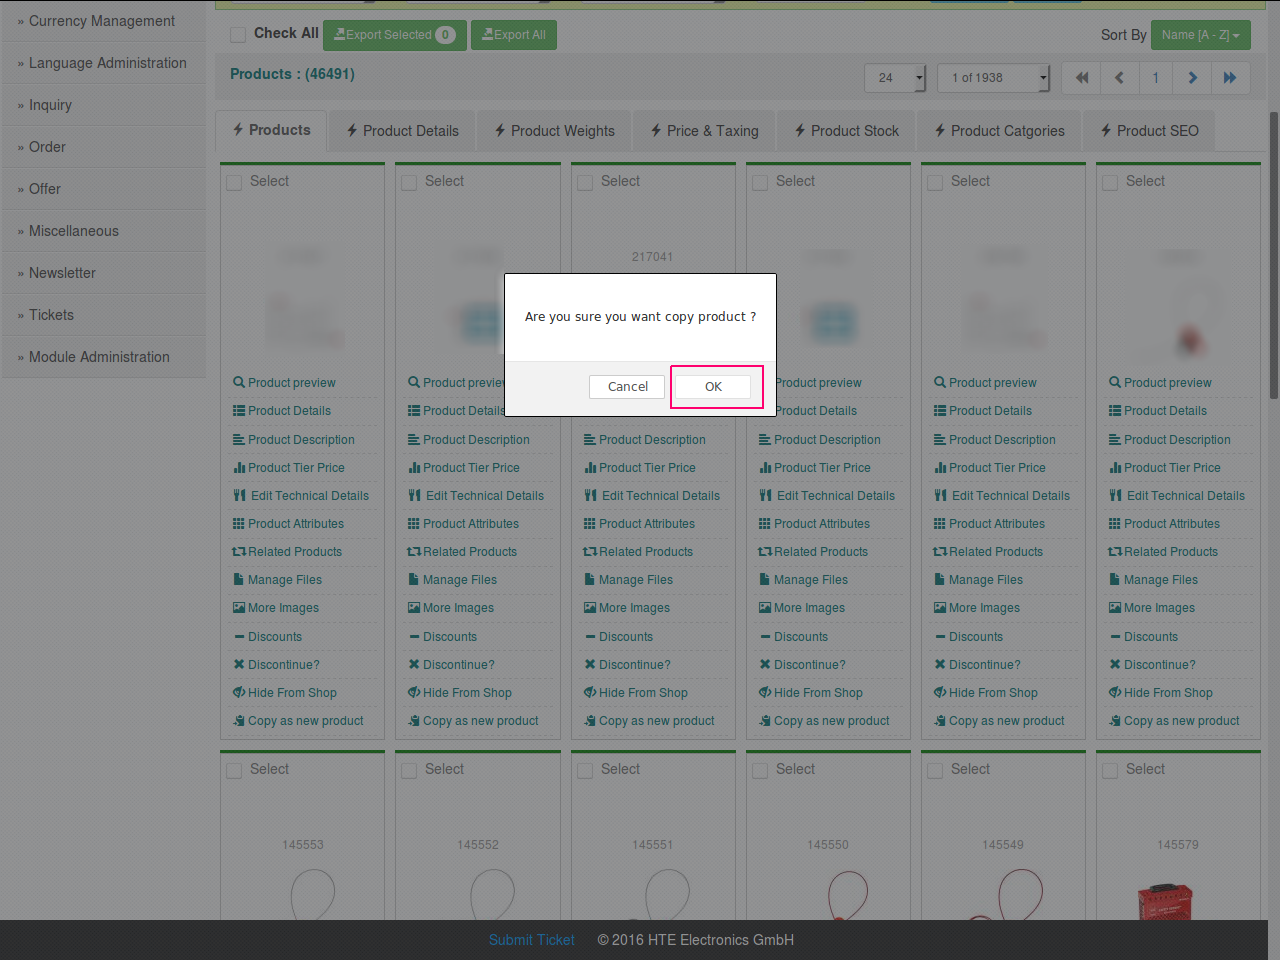
In the list of actions below the product name, select the “Copy as New Product” option to copy that product

A confirmation dialogue box will be opened and click on OK to copy the product. And the product will be copied with all the data, and then you can edit the data which ever you wanted for that product.
6. Cargo product attribute
Cargo product attribute for bigger products with the note in orders that the shipping costs will be determined once shipped additionally for all cargo products.
For some bigger products we cannot able to determine the shipping cost as it depends on outside factors, so to indicate the customer about such products we make the product as Bigger Product. To make a product bigger, click on the products tab in the admin panel and then click on Product Details tab in the page, a table with several product details will be opened, in the column called “Bigger Products” click on the select tab of what ever the product you want to make big.
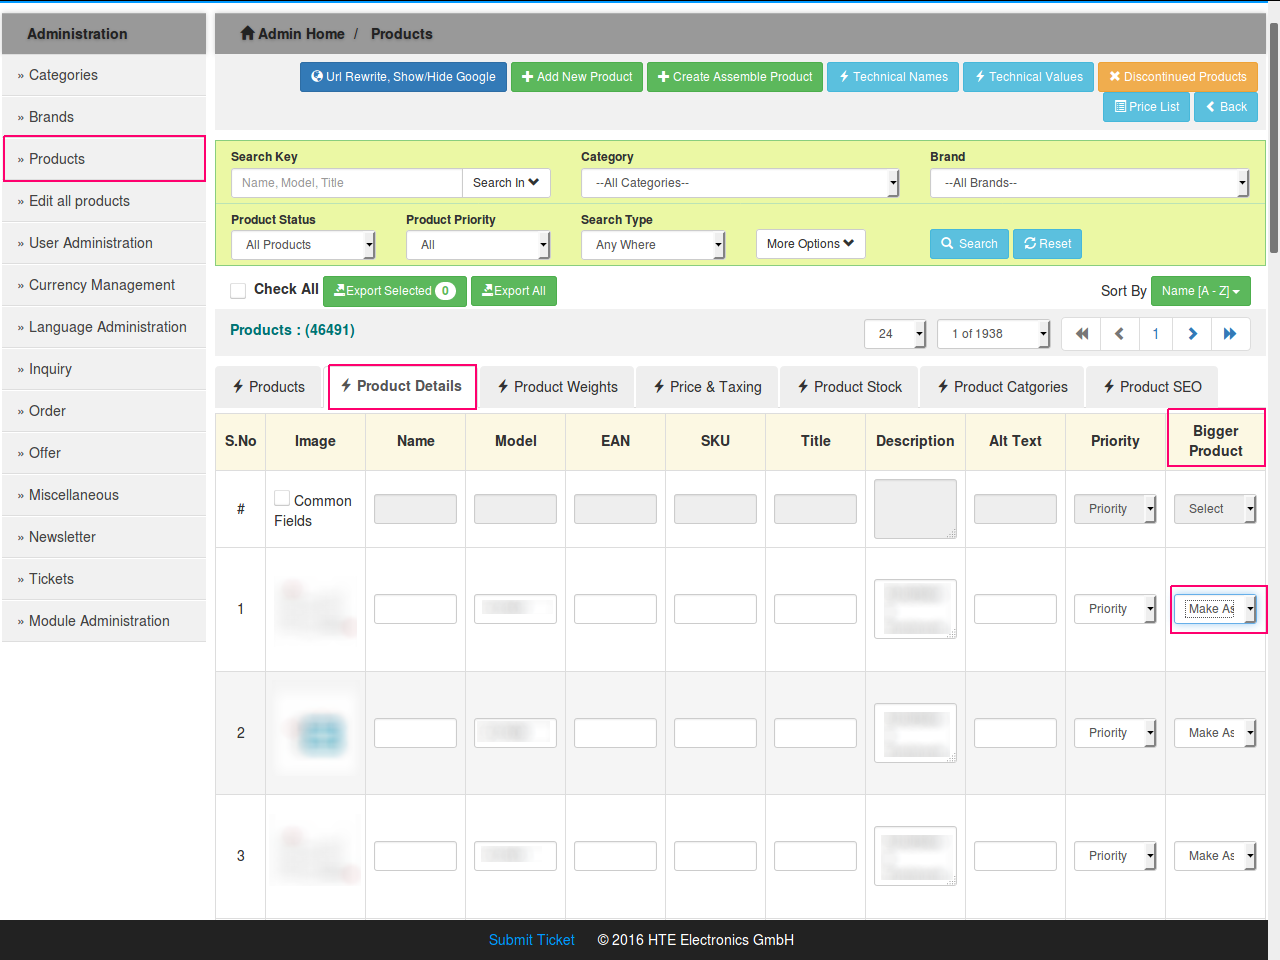
You will get two options after clicking the select box, Make as Bigger product and Make as Normal product, to make the product bigger select Make as Bigger Product and to make it normal, click on Make as Normal Product.

7. Import of products
Import of products stock and prices via excel files.
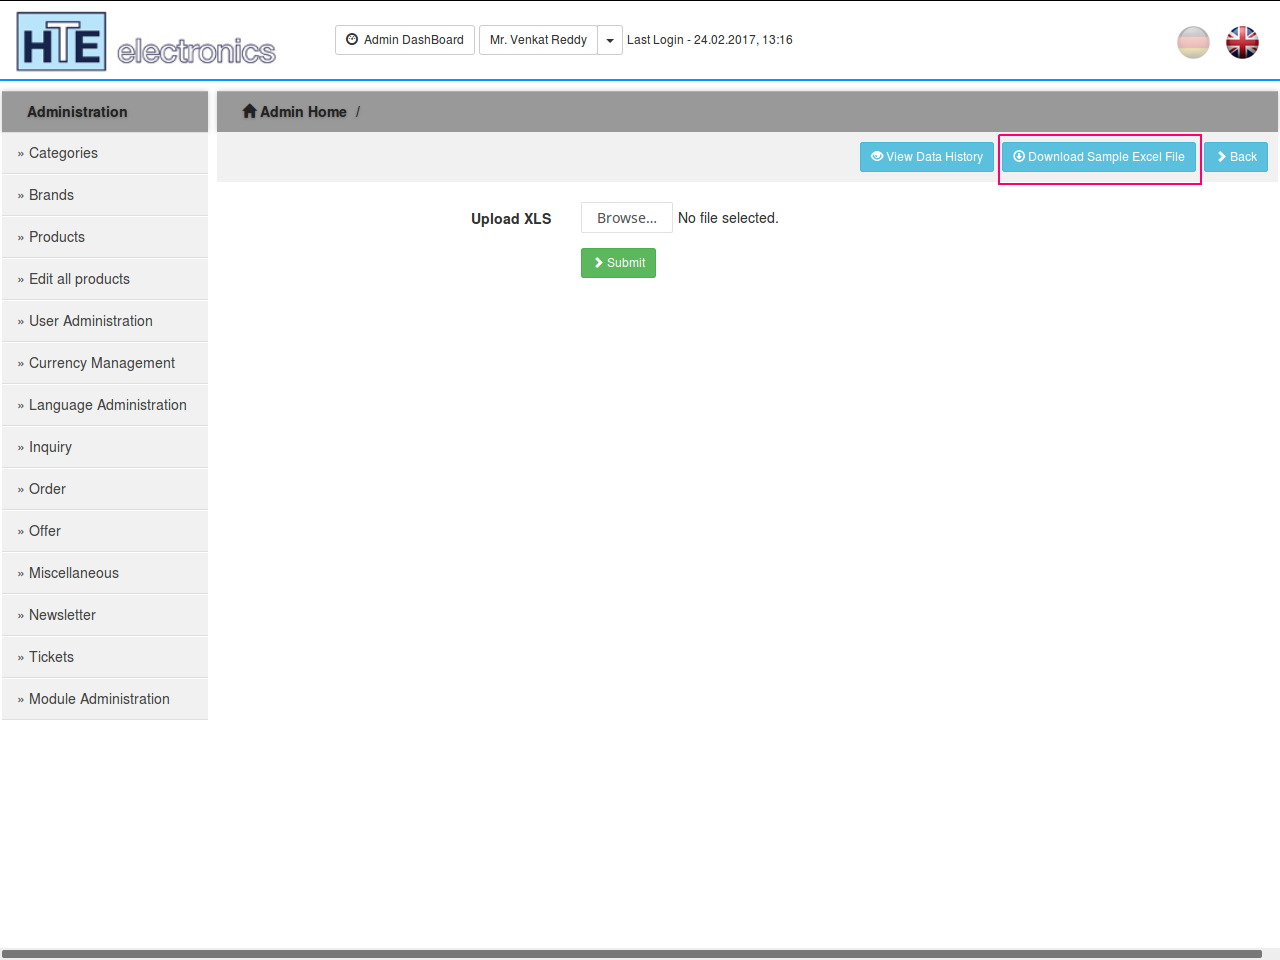
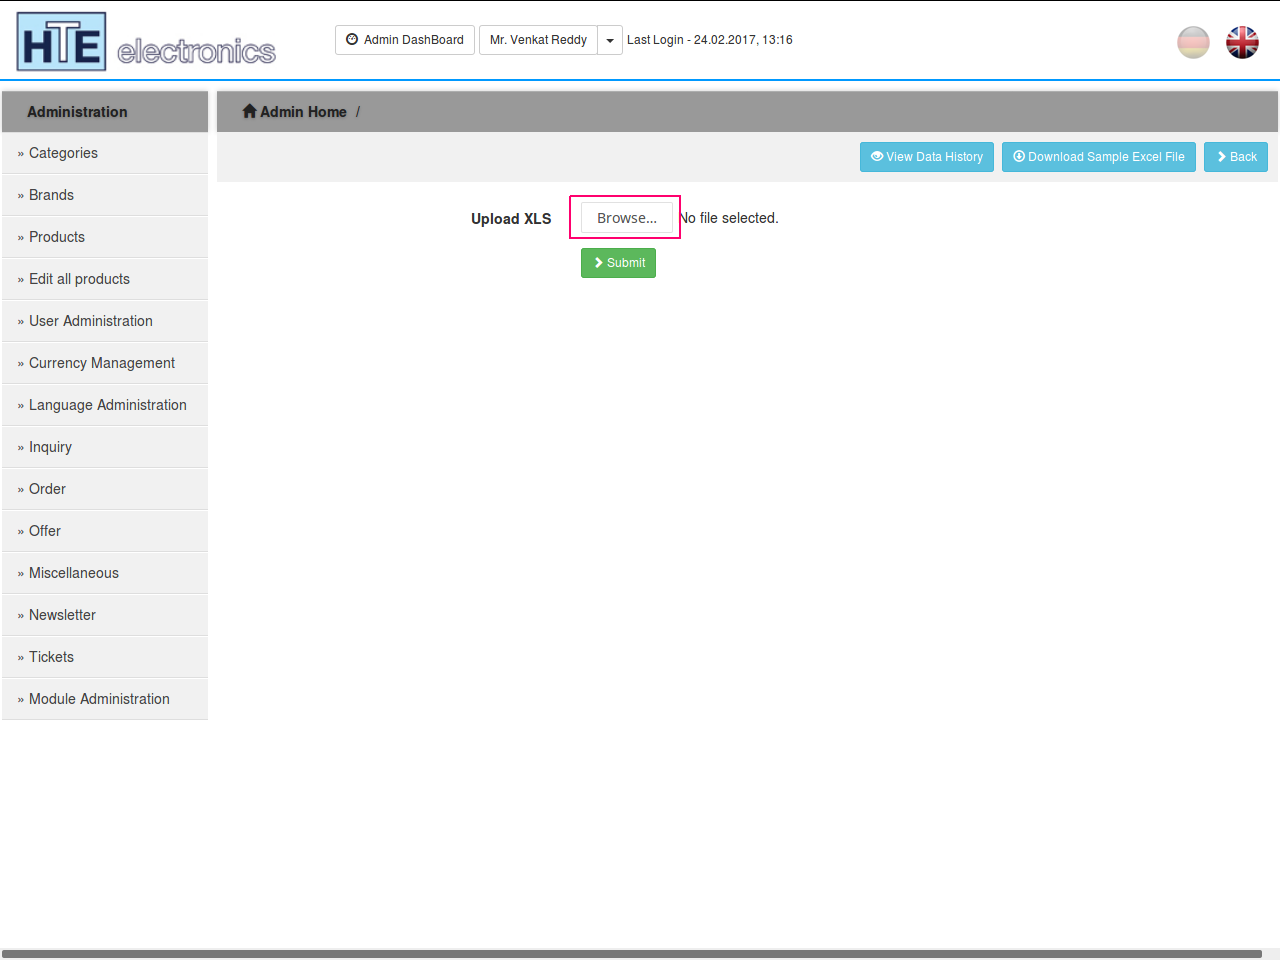
One can easily import the products stock and prices via excel files, to import the data , click on the Products tab in the admin panel and on top right corner of the page you can find the “Import from Xls” button, click on it.

After that a page with an option to browse the file will be opened and also it will consists of a sample excel file, which will give a sample of how the data need to be filled in the excel sheet, to get the sample excel sheet, click on Download Sample Excel file, and fill the data into that excel file and select that file to add.
8. Export of products
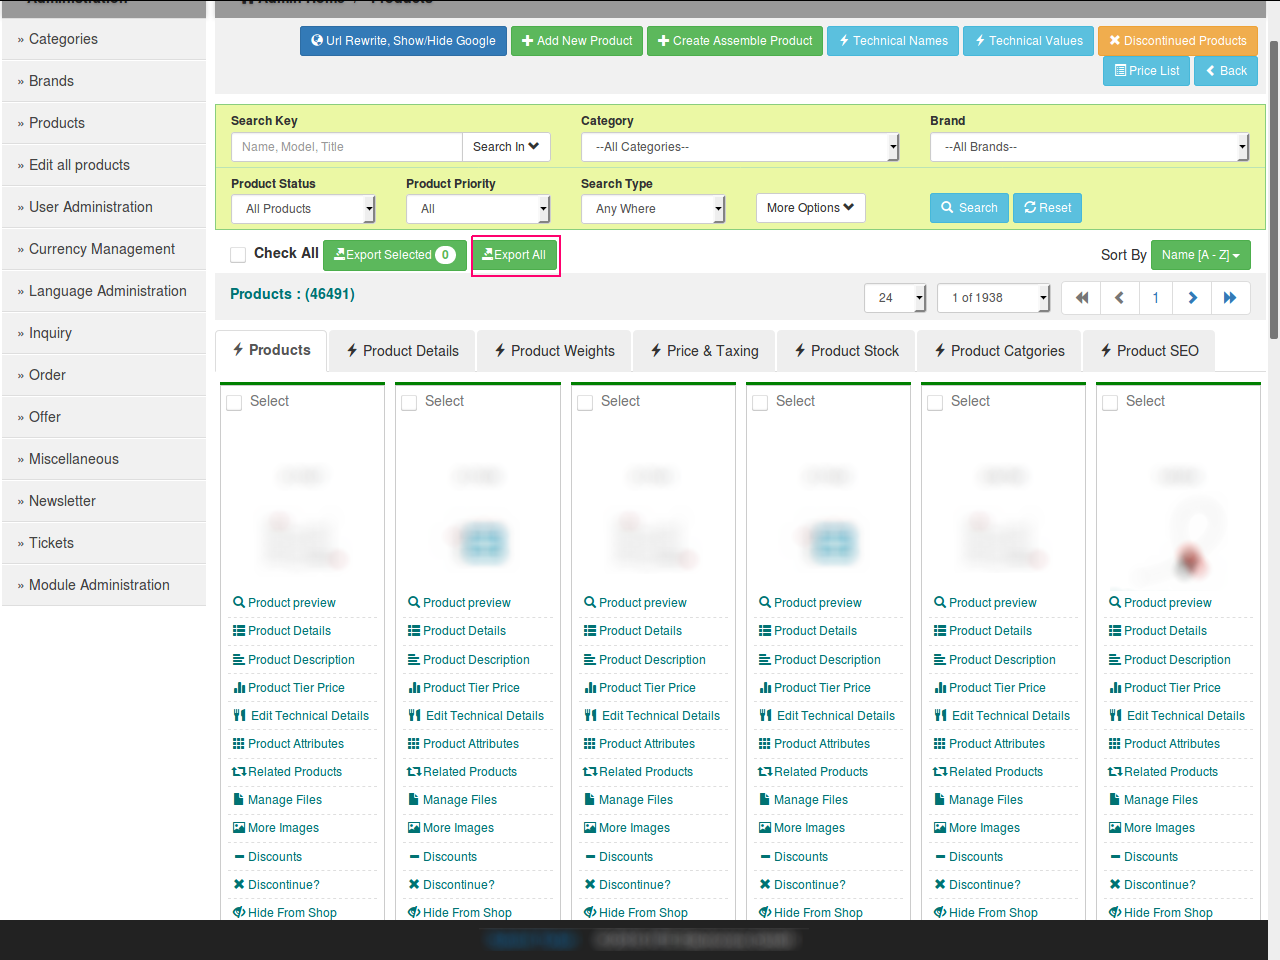
Export of products selected or all with selected product data in excel as csv formats.
And one can easily export the products data, to export the product data click on products tab in the admin panel and if you want to export the only some products then select the product which you wanted to export and click on “Export Selected” button.

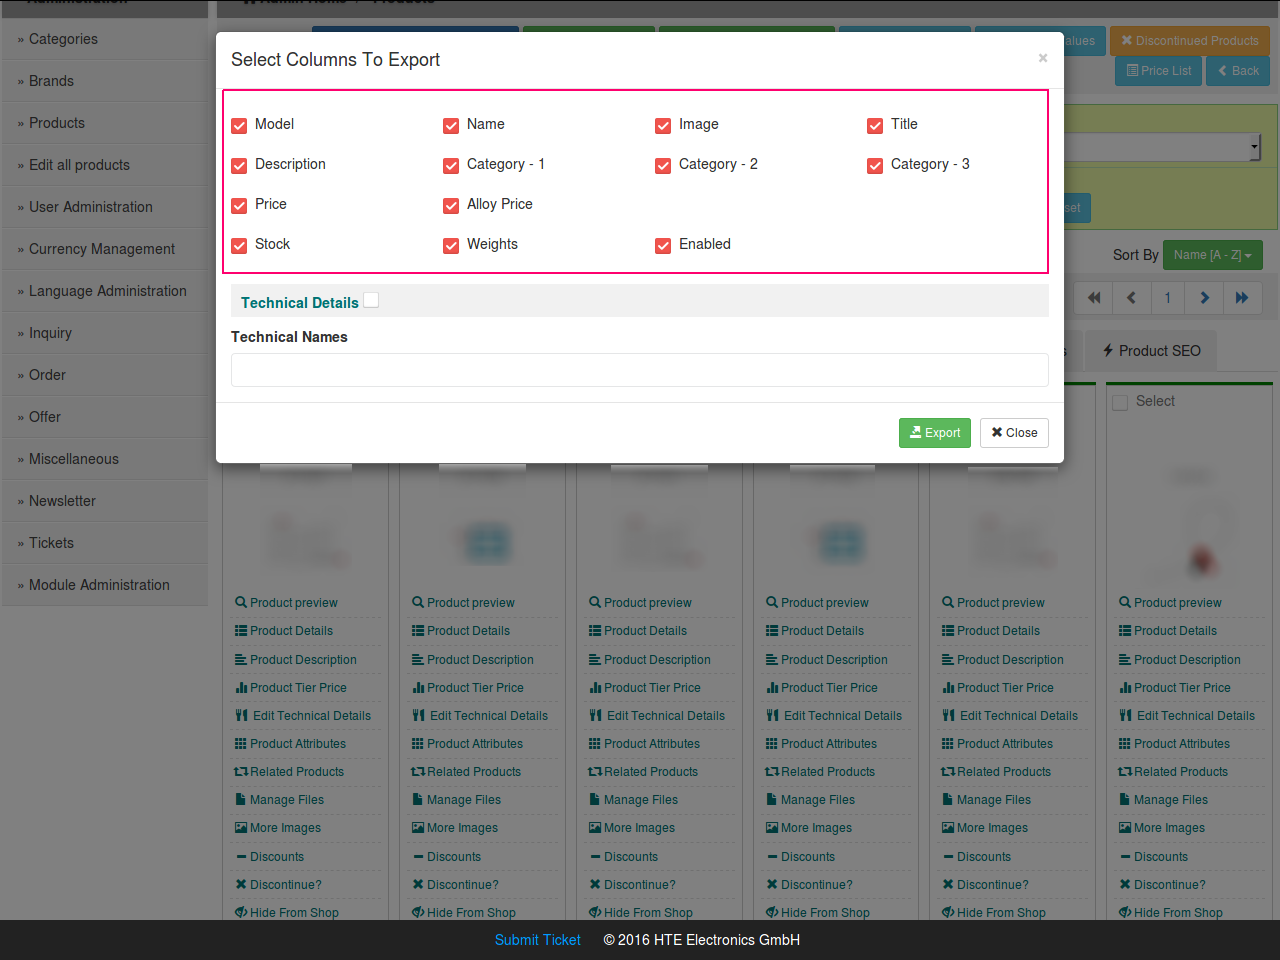
Then a pop up with several column list will be opened and gives option to select which column needs to be exported, select the columns which needs to be selected
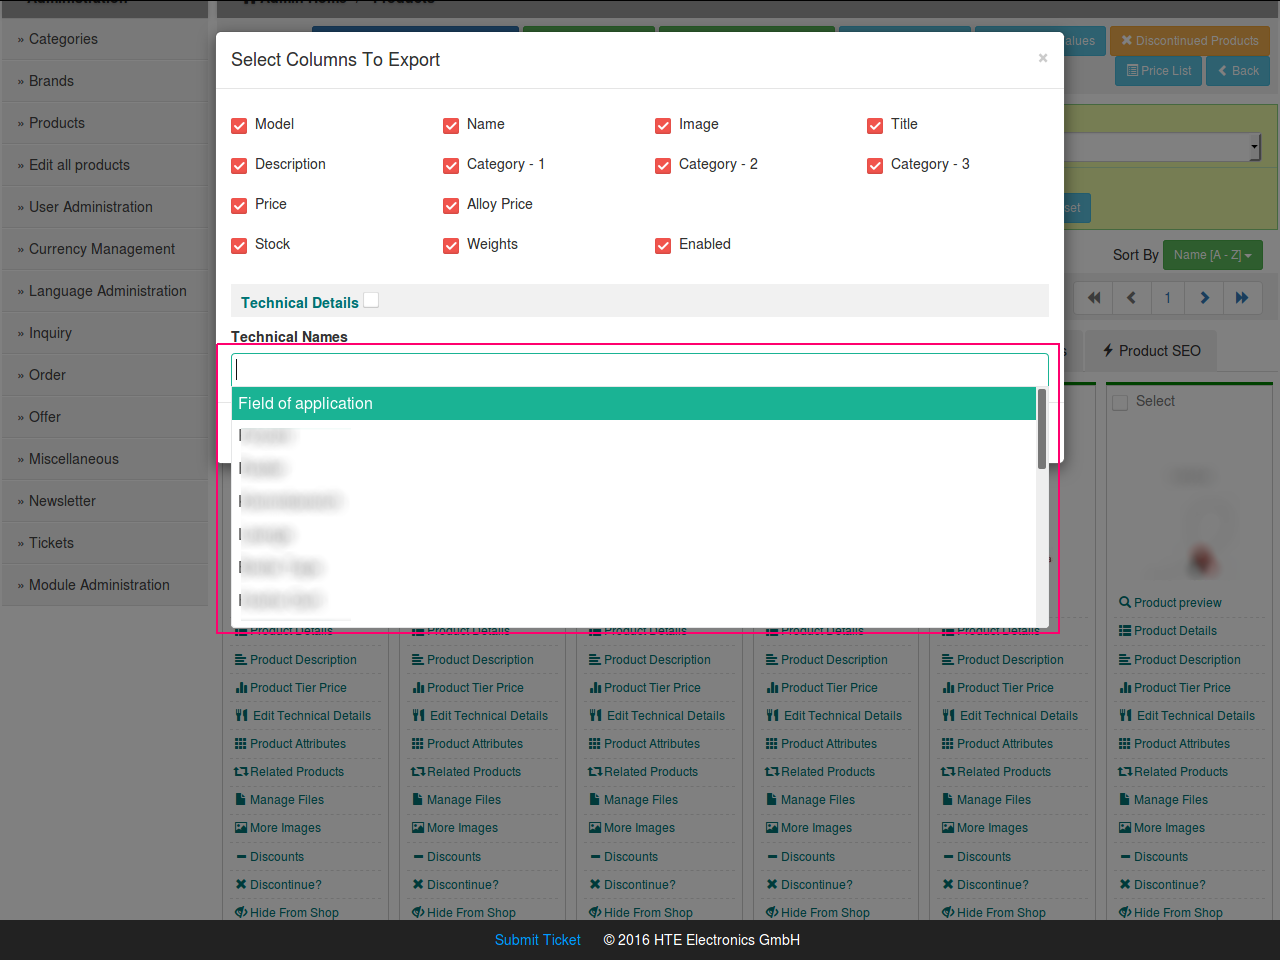
After selecting the columns then select the technical details which are need to be exported and click on the technical names, a list of technical names will be opened and select the name which need to be exported

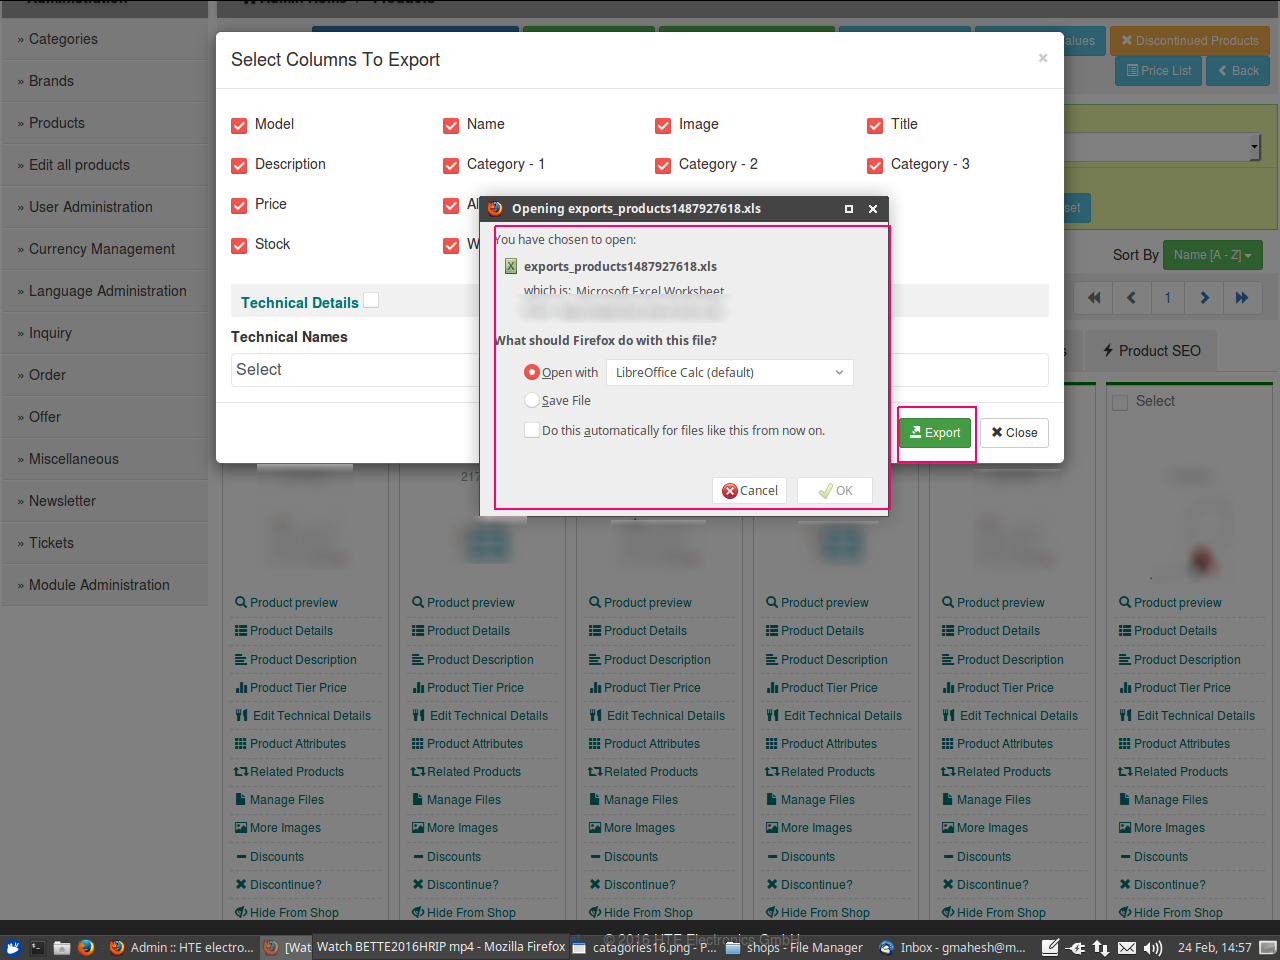
then click on the export button and a down loader will be opened and asks for save or open, select the option and click on OK.

But if you want to export all the data then click on “Export All” button then select the columns and the technical names and details to export and click on export button to export.

9. Registered user activation
Registered user activation by email authentication by the user to confirm his account or user activation by admin for all new registered users in the shop so as to avoid Spam users registrations.
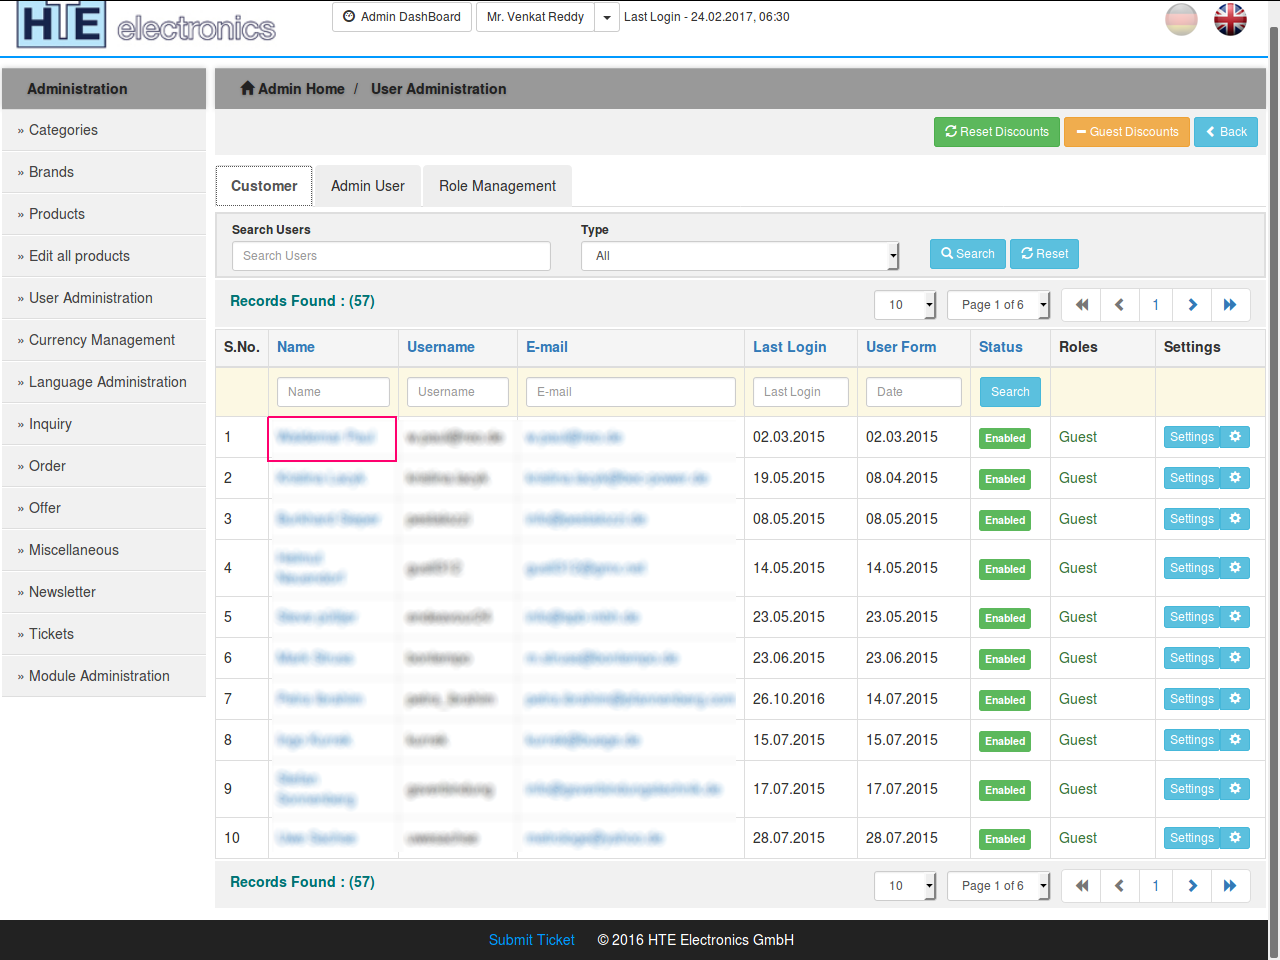
Registered user activation will be done by the admin, Admin can be able to Enable or Disable the User, the user who gets activated only can login into the system. To activate a new user click on the User Administration tab in the admin panel, and the list of users will be opened.
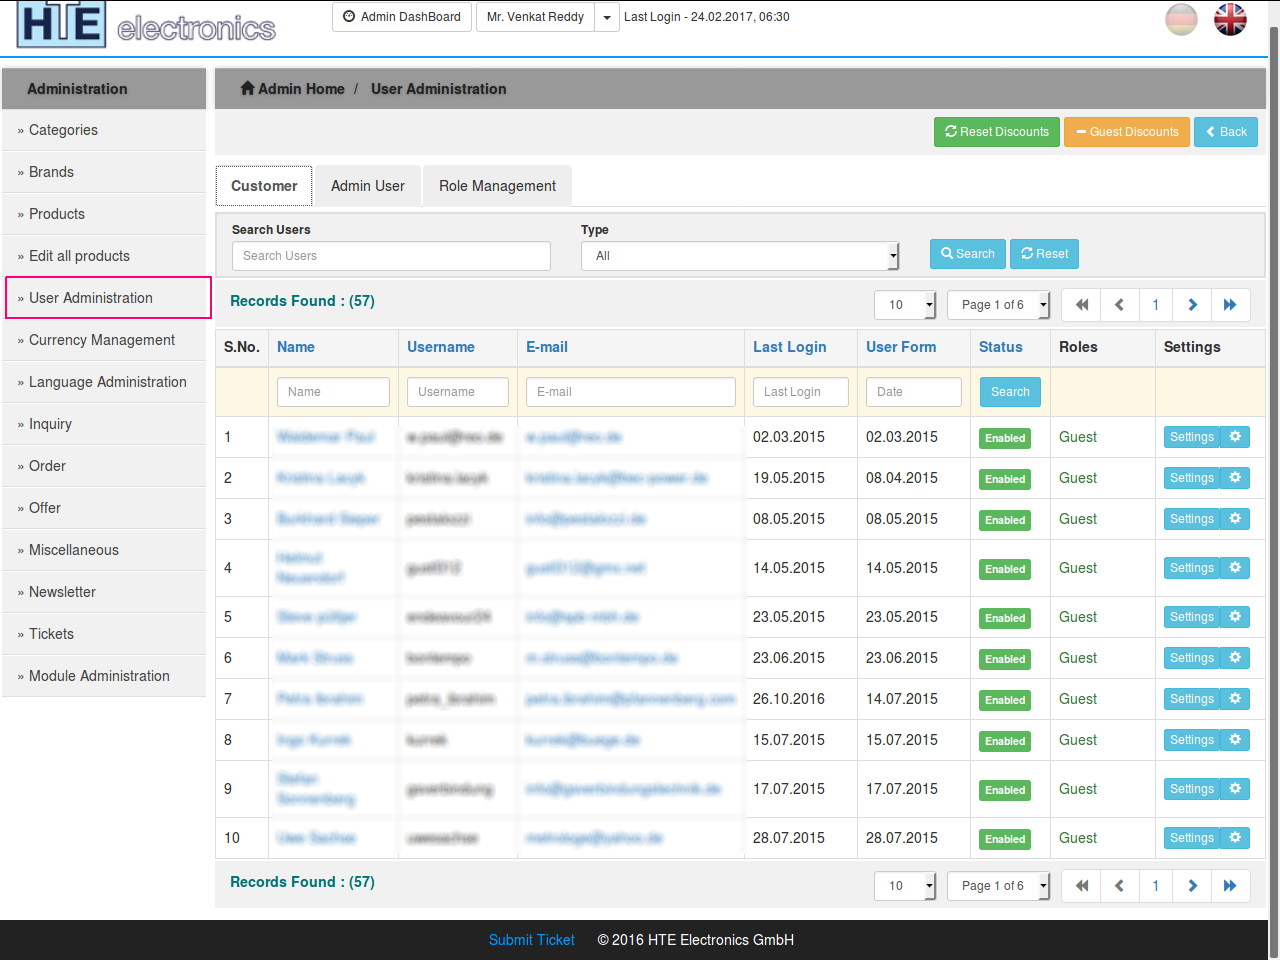
In the user Administration page click on the Customers tab and list of the customers will be opened.

And the new users will have a disable status which is shown in the status column
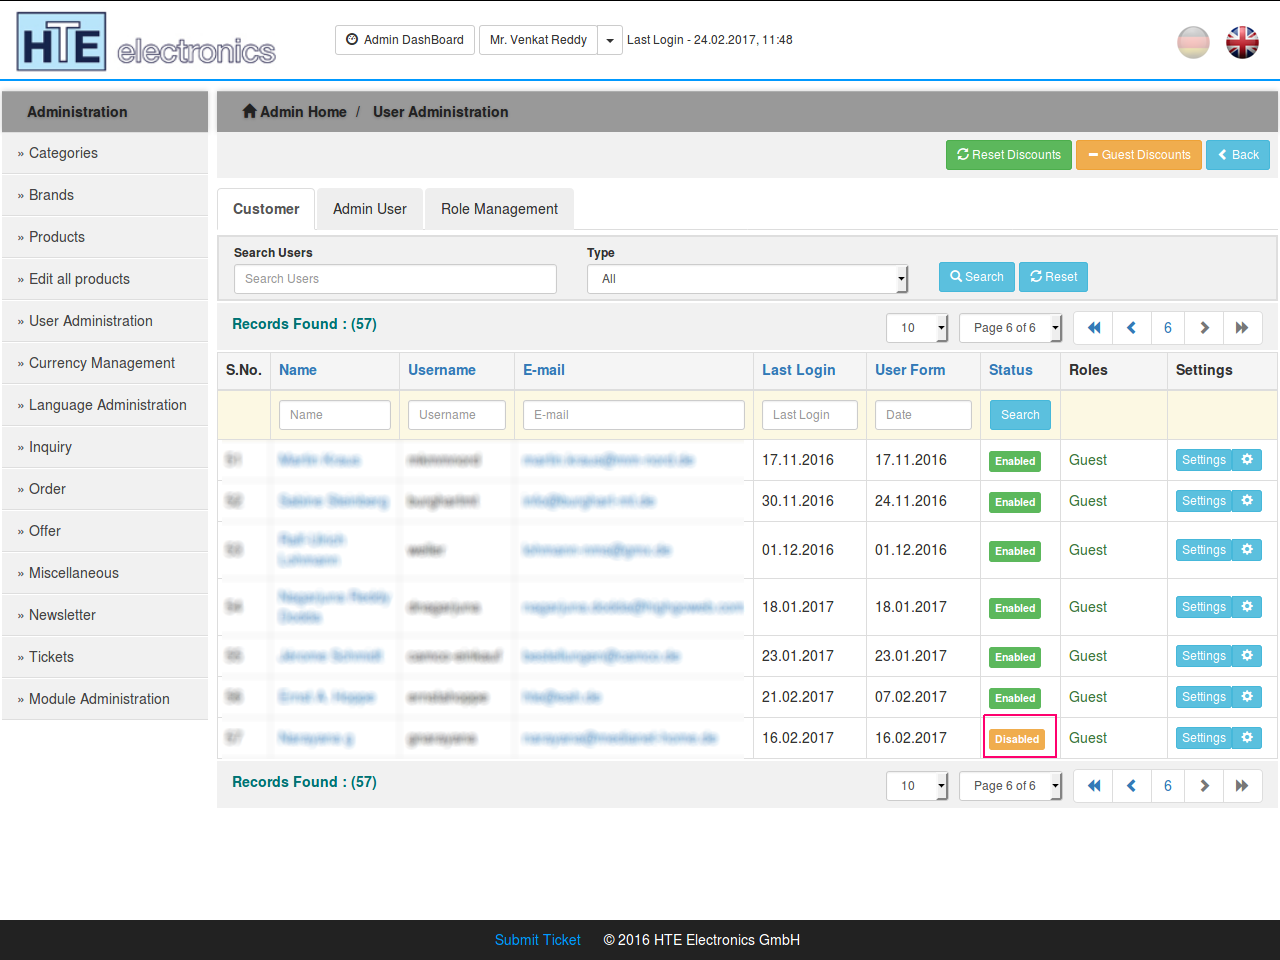
To enable the user click on the Settings button of that user and select Enable User and the status will be changed to Enabled. Then the user can login into the system.
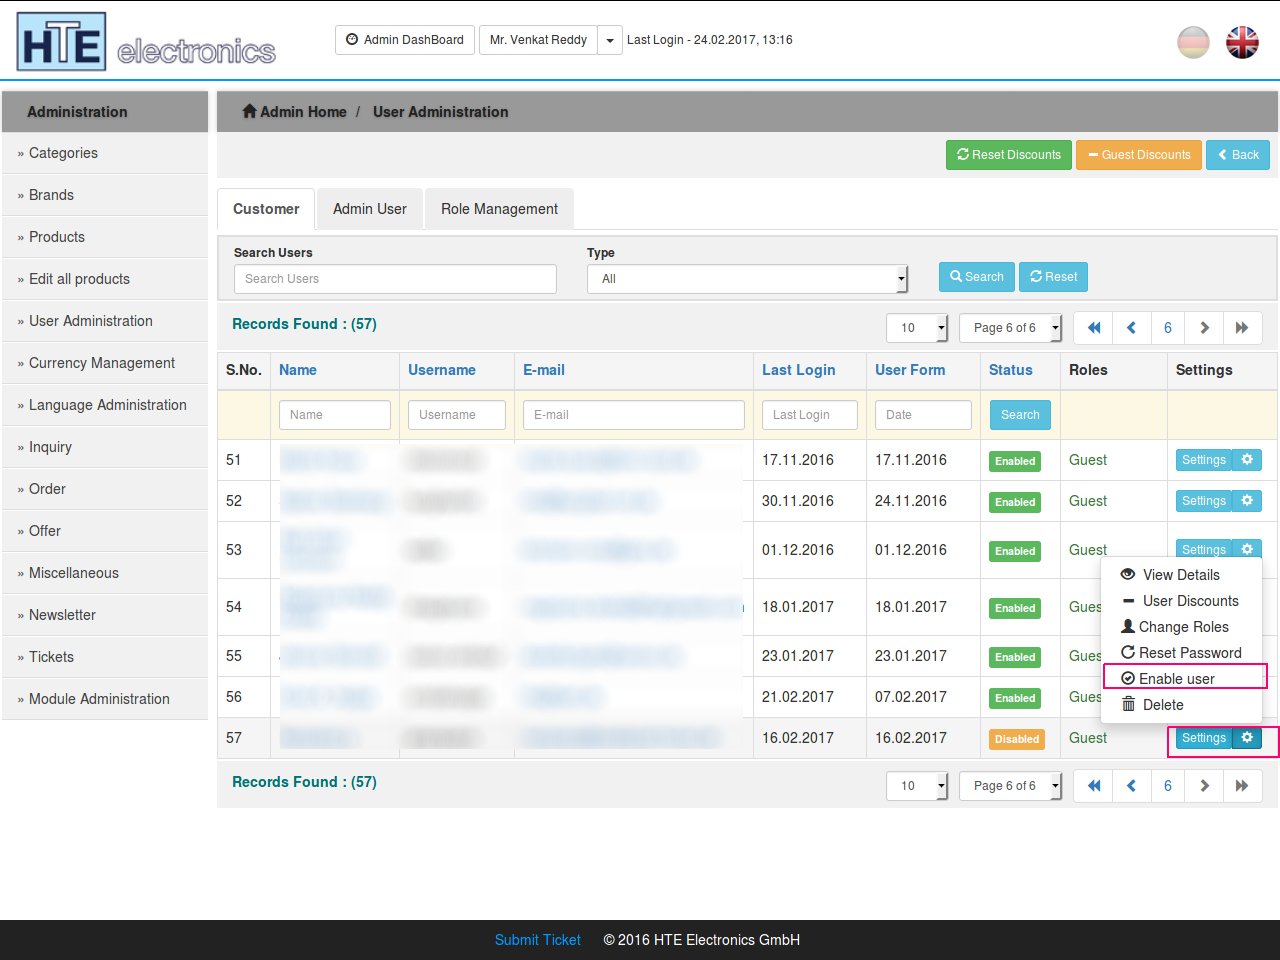
If you want to restrict any user you can simply Disable that user. To Disable the user click on the settings button of that user and select Disable User option.

10. Filter of users
Filter of users by customers and shop admin’s separately.
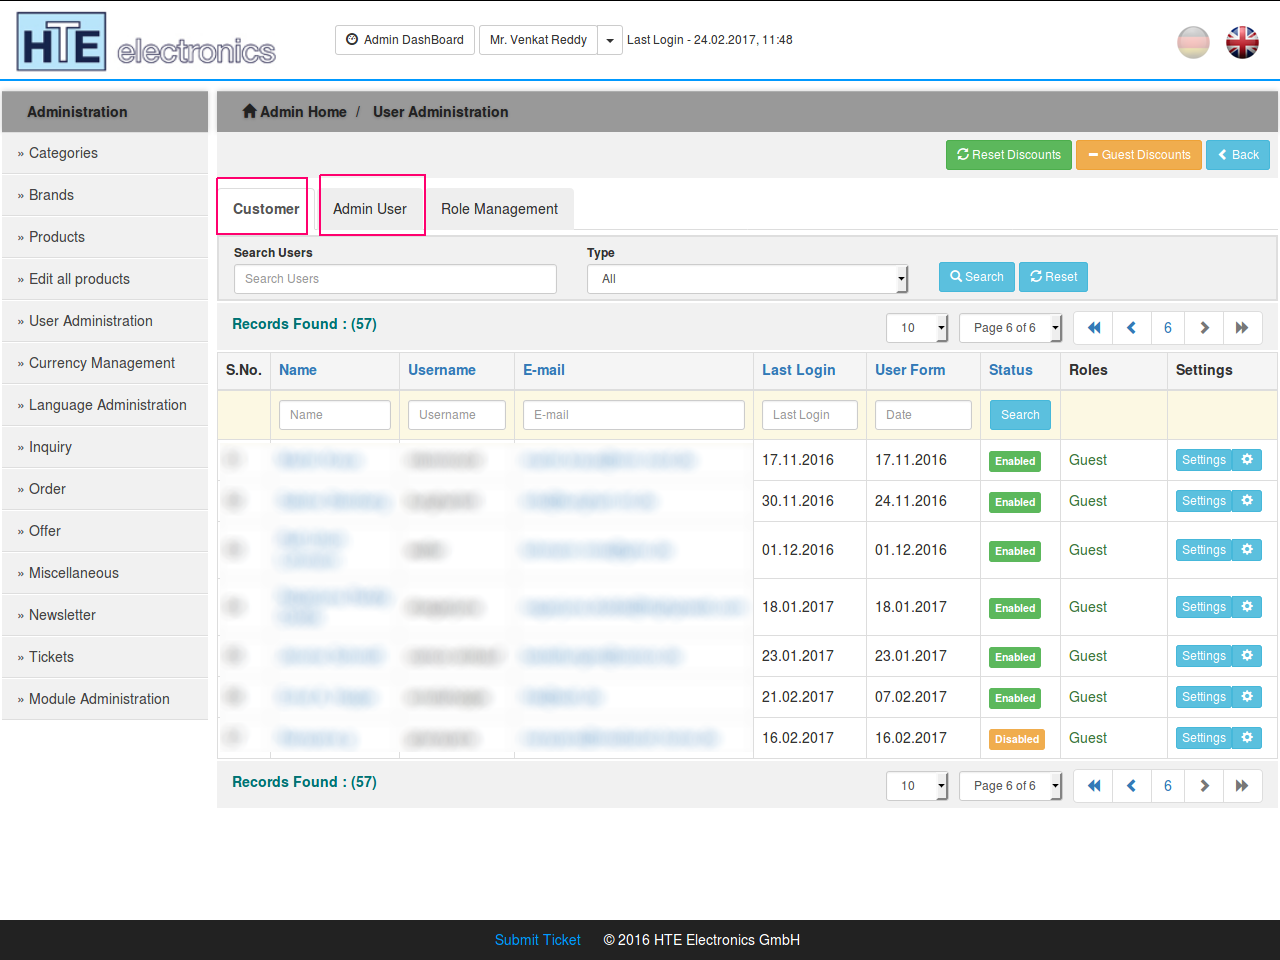
The Admin users and Guest users will be separated and will be shown in different tabs. Admin can easily by switching the tabs.
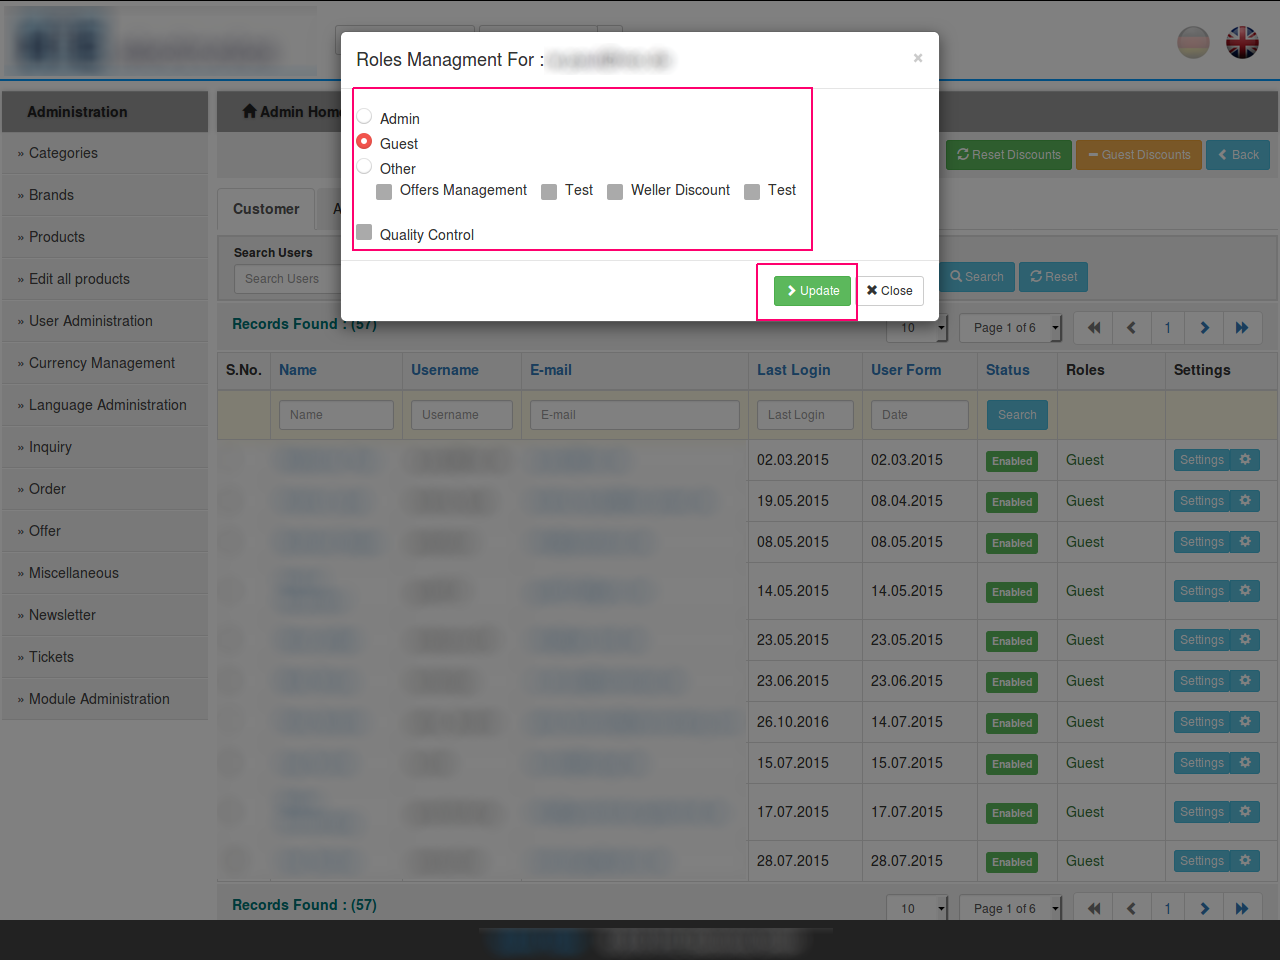
And to change the User from admin to Guest user or Guest user to admin, Click on the settings button of that user and click on “Change Roles”, option.
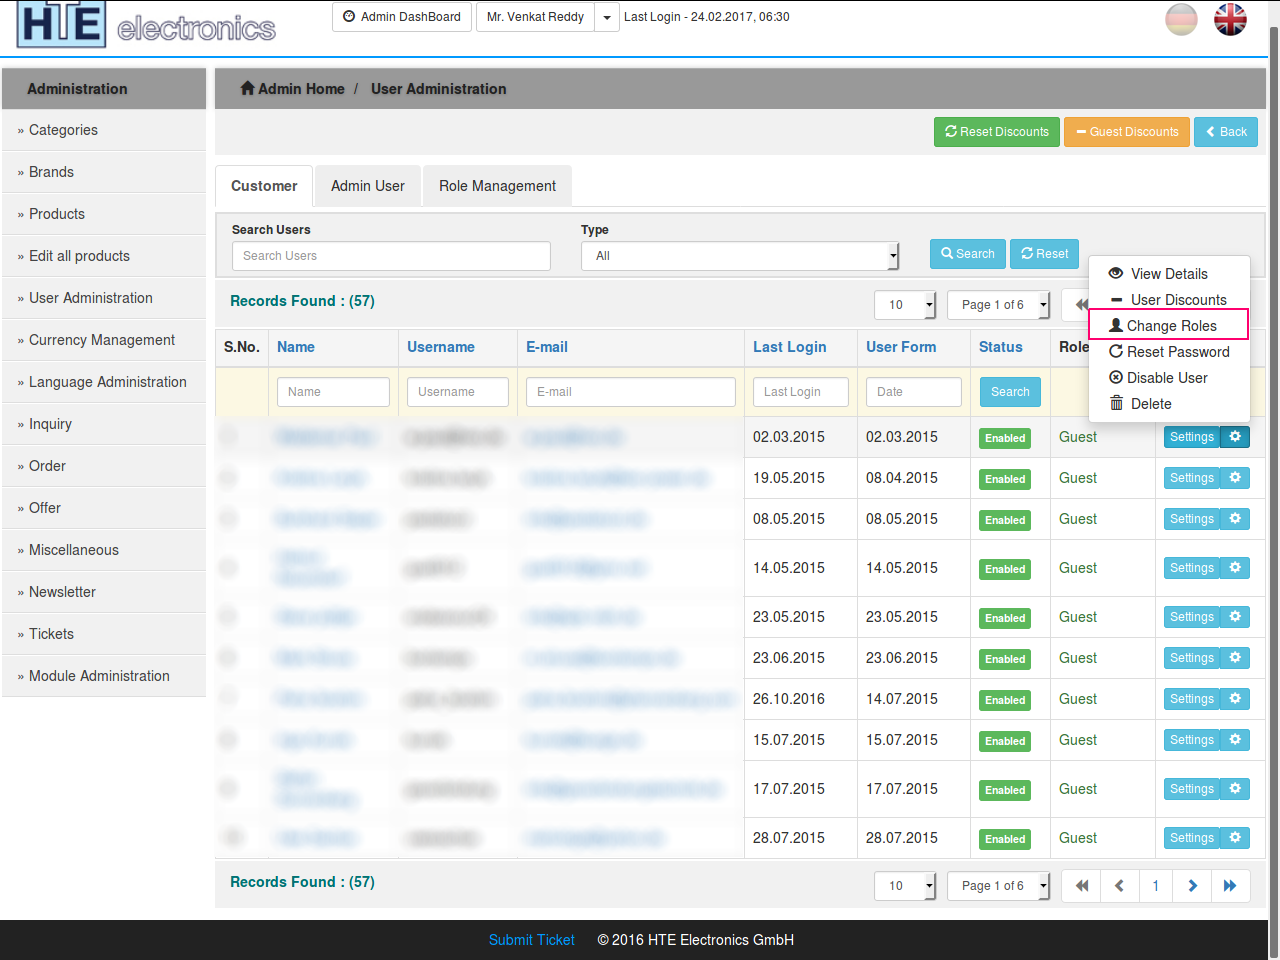
A pop up with the options with Role management will be opened, different roles were there in that pop up and admin can select the users role .and click on Update button to change the role.
11. Over view of customers
Over view of customers, their orders, inquires, offers, products their orders and all customers activity when clicked on customer.
Admin can be able check the Customers Orders, Inquires, Offers and their activities, to check the Customer activities click on the User Administration tab in the admin panel and click User, who you wanted to see the activities.
A pop up with all the Customer activities will be opened.

12. Price list generation
Price list generation by admin for all products, selected products by category brand and possibility to download price lists for users/customers with role and rights.
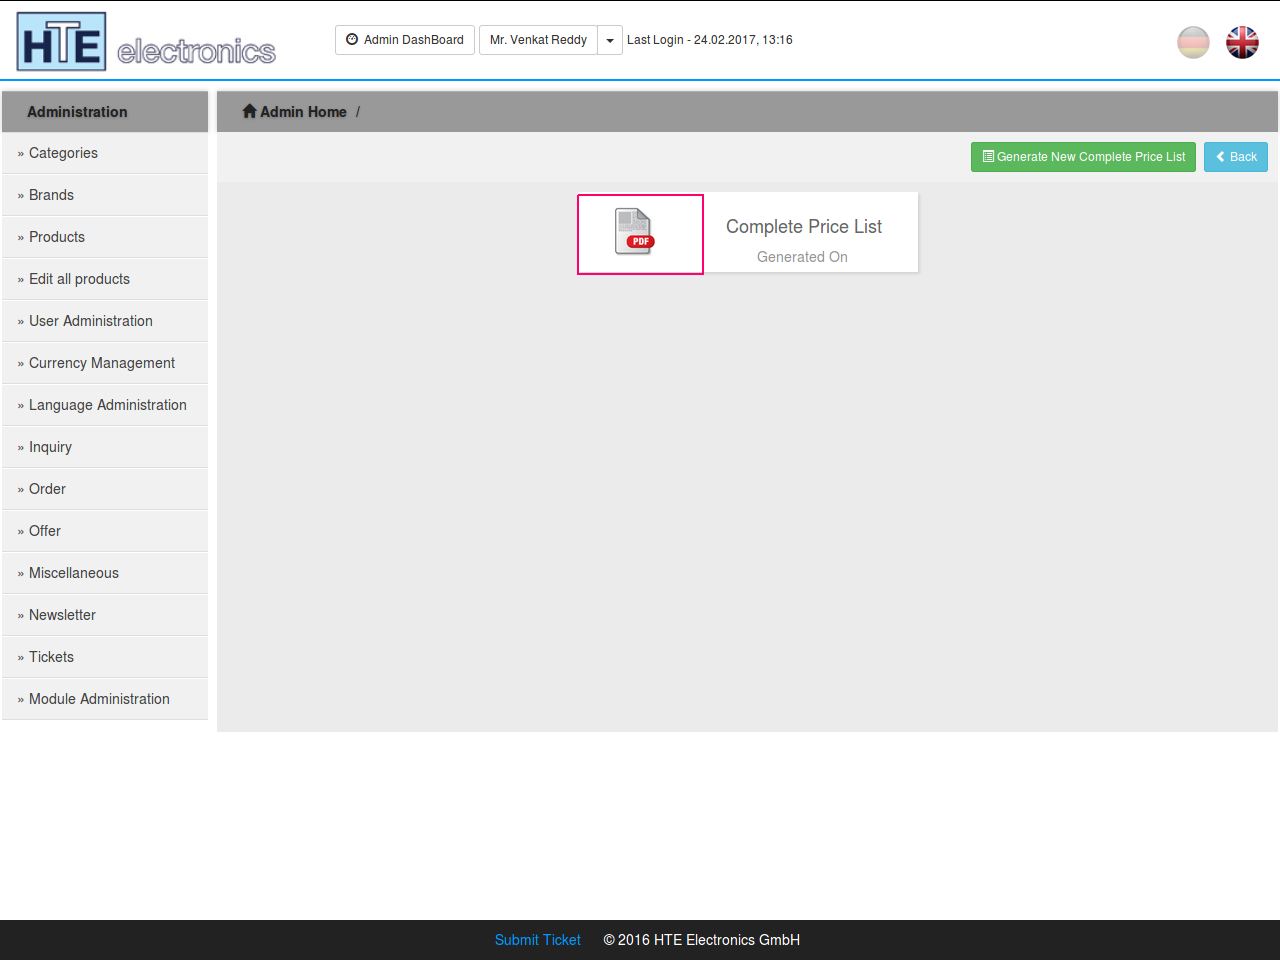
The admin can be able to generate the product price lists, to generate the price list, click on the Products tab in the admin panel and click on the Price list button at the right top corner of the page.
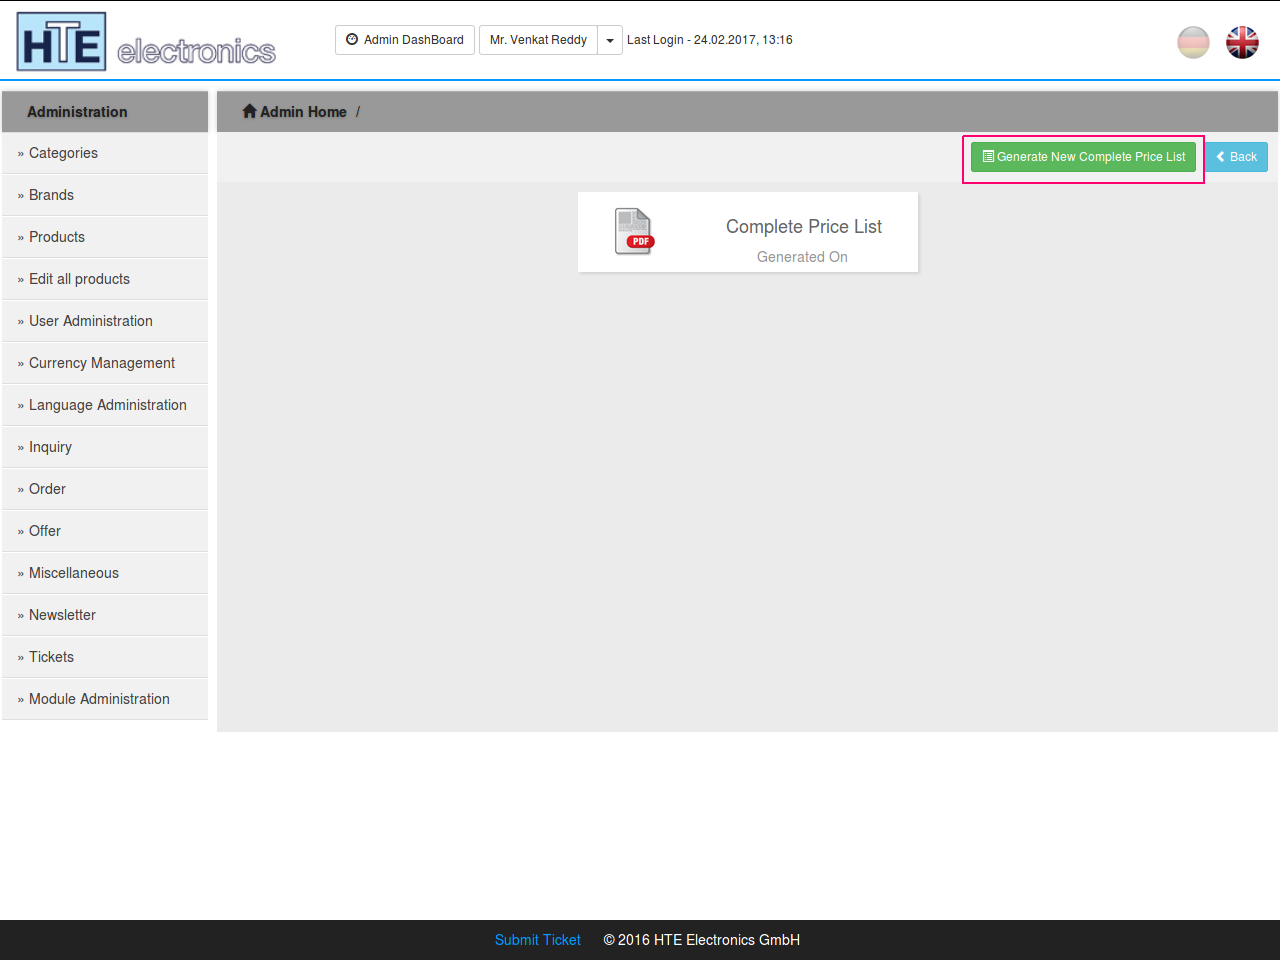
If the price list is already generated, then the pdf of that list is available for the download, or else click on the Generate New Complete Price List button to generate the list.